As we move from spring to summer, everyone is looking for ways enjoy the warm weather. The days may be getting longer, but you can extend your time outside even more with an impeccably illuminated garden.
Whether it’s for entertaining, safety, aesthetics, or something else, outdoor lighting is a vital part of your home. There are several key factors to consider, as well as some important details to iron out, when creating the perfect mix of outdoor space lighting, including:
- Safety
- How you plan to use the space
- Lighting placement
Let’s take a look at some of the most important aspects of outdoor space illumination:
Safety First
With outdoor space lighting, you run the risk of exposing electrical equipment to the elements, so it’s always important to take steps to protect yourself and your fixtures. Choosing fixtures and light bulbs that are rated for the outdoors is of the utmost importance.
LIGHTING TIP: For permanent outdoor fixtures, LEDs are often the best choice because they’re typically made of plastic and are more durable than a typical glass bulb.Lighting that will be protected from direct exposure to rain, such as those under porches, should have an IP rating of at least 44.It’s not just the potential for breakage that you need to consider. Picking a fixture with the right IP rating ensures that your lamps won’t be affected by moisture or dust and debris. For instance:
- Lighting that will be protected from direct exposure to rain, such as those under porches, should have an IP rating of at least 44.
- Areas with less protection should use lighting with an IP rating of at least 65.
For more information about IP ratings, check out our guide.
When attaching or installing lighting, remember to use fasteners that won’t damage any lighting elements. With temporary lights, such as fairy string lights, it’s best to attach them using materials that won’t damage their protective coating, like plastic cable ties.
Remember to keep cables out of common walkways to prevent a tripping hazard.
PRO TIP: Outdoor space lighting can be difficult to adjust because often the fixtures are more protected or are located in hard to reach locations. Choose light bulbs with a long average rated life time to cut down on maintenance. Please note, not all LED lightbulbs are suitable for use in fully enclosed fittings or exposed festoon fittings, please check before orderingCareful Consideration
Outdoor space lighting can go almost anywhere you’d like (as long as there is access to a power source and the light fixture and lamp are properly rated for the level of exposure), so it’s important to narrow down your lighting options by thinking about the best way to capture the look you are aiming for and the tone you’re trying to set.
Consider how you currently use your outdoor space and what you would like to use it for going forward. Would you like to look out into your yard and see your radiant roses? Are you more interested in entertaining? Once you’ve determined the focus of your lighting, consider what’s already in place, what you have to work with, and figure out where you’ll need light. This chart can help you determine which areas to light:
|
|
|---|---|
| Security | Dark corners, driveways, doors |
| Safety | Pathways, doors, stairs |
| Entertaining | Patios, pathways, water features, outdoor structures, dining areas |
| Activities | Patios, outdoor structures, cooking areas, pathways, stairs |
| Aesthetics | Architectural elements, gardens, plants, water features |
Regardless of what area of the yard you’re lighting up or what your goals are, there are a few things you need to keep in mind:
- Brighter isn’t necessarily better
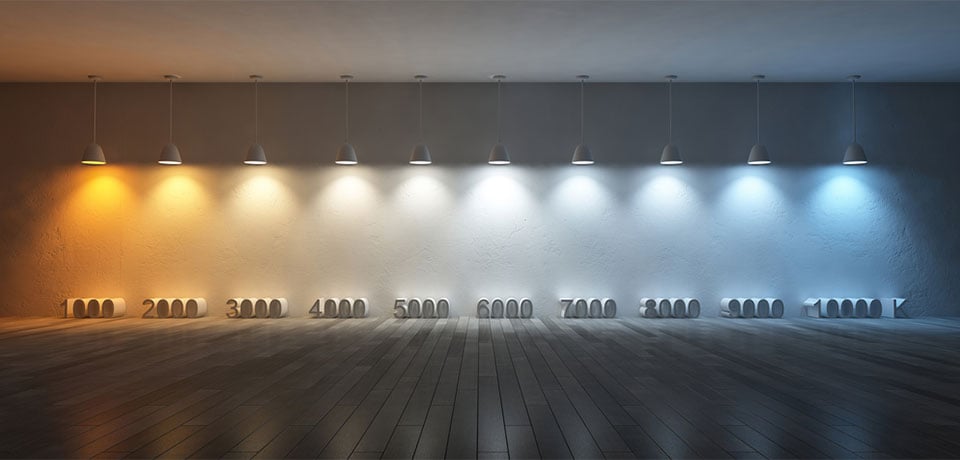
Harsh, bright lighting can create unsafe areas and dark pockets. Instead, choose warm lights with a lower lumen level for more even lighting. This creates a more relaxing environment for entertaining, decreases the impact of nighttime illumination on wildlife, and makes it easier for your eyes to adjust so you can see beyond the lit areas. - Space your lighting so that light beams overlap
How far apart your lighting should be placed depends on the beam angle and type of fixture you select. Proper spacing will help eliminate shadows and dark areas. - Choose directional, shielded lighting
To cut down on energy waste and light pollution, choose fixtures and bulbs that direct light where you want it to be. It’s also considerate to your neighbours, who may not appreciate lights shining directly in their bedroom window at night. - Dimmers & switches
Having control over your outdoor lighting is just as important as it is indoors. Putting your outdoor lights on dimmers and dividing them into sections makes it easier to adjust the light level to suit your needs at any given time.
Once you’ve determined your lighting needs, it’s time to start planning and deciding on placement.
Perfect Placement
You may already know exactly where you want your lighting to go, but there are a few areas you should consider before you settle on a lighting plan:
Doors & Gates
A good place to start when it comes to outdoor lighting is the doorways and gates to your garden. These locations use lighting to:
- Help set the tone for the space.
- Make it easier to see so you aren’t fumbling with keys or gate latches in the dark.
- Clearly identify where guests can enter and exit.
Pathways
A lit path adds value in a few ways: not only does it look pleasing and help create a welcoming environment, but it also provides you and any guests who may not be as familiar with the space with enough lighting to see where they’re walking and easily avoid any obstacles.
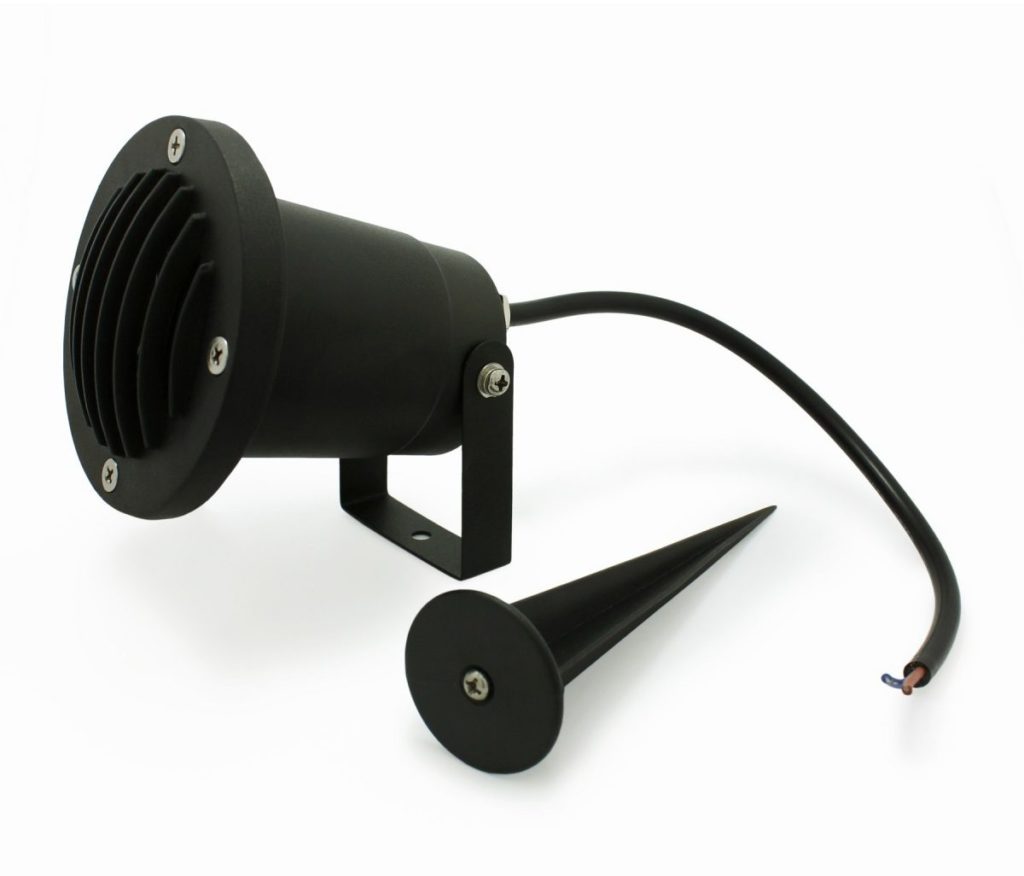
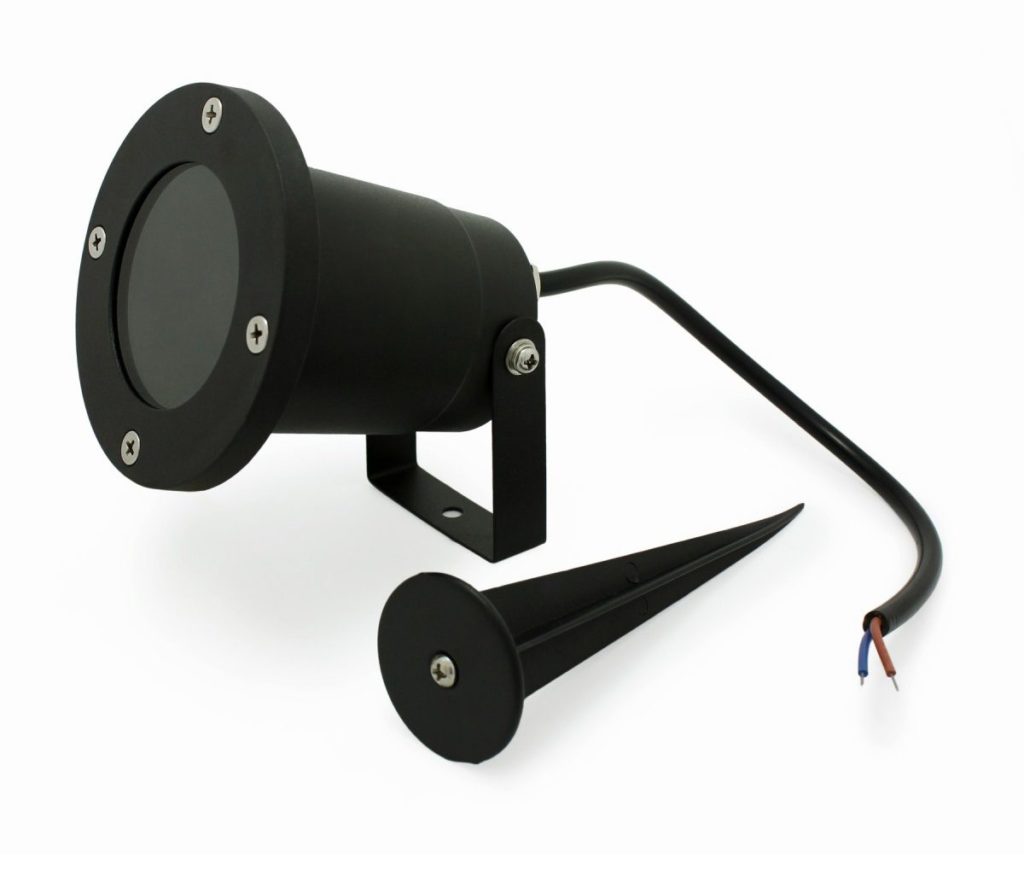
Pathway lights should be angled downwards to keep the light from shining in your eyes. These stake lights are perfect for your pathways:
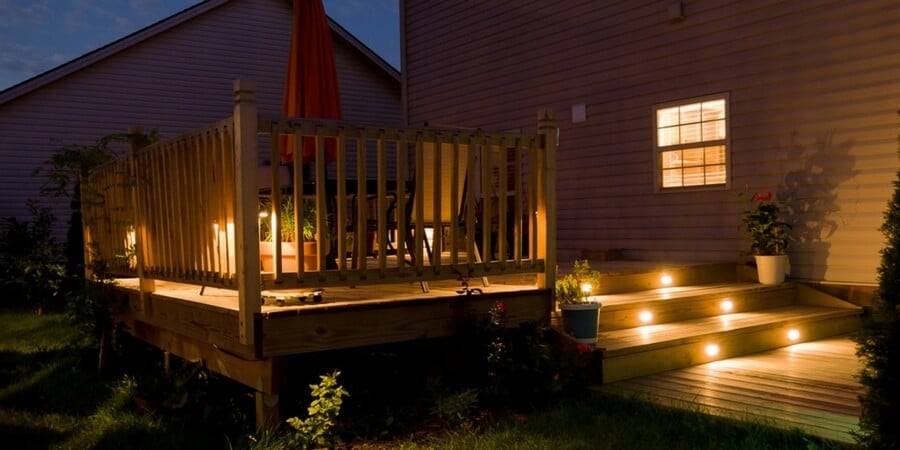
Driveway & Stairs
An illuminated driveway, especially in dark areas, can make the trip to your door a little safer by making it easier to spot hazards. Use warm lights with a lower lumen level and make sure the lights are directed downwards.
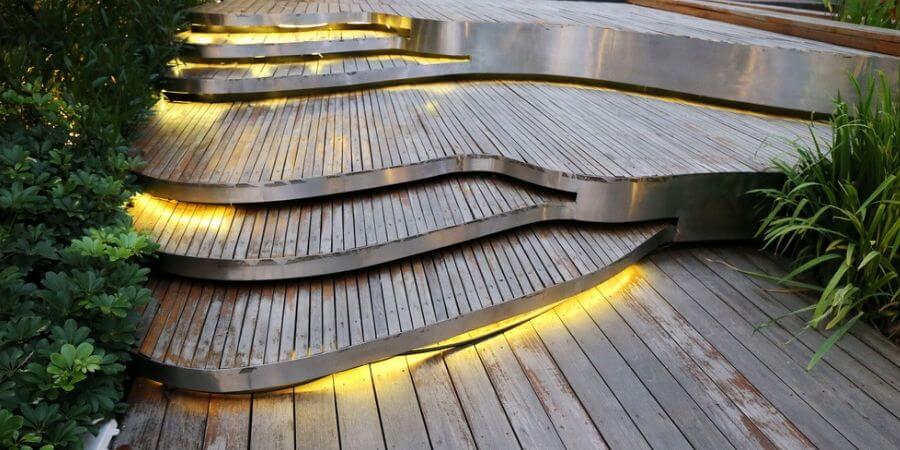
Stairs are a great place to use illumination to add visual interest while making them safer to traverse. Pot lights can be added on the sides or rope lights can easily be installed under the tread for ambience:

Patio
This area is often the most-used space in a garden. If you like having cookouts, you’ll need a combination of ambient and task lighting so you can create a relaxing atmosphere and see what you’re doing around the barbecue. Since cooking areas are often located close to your home or outdoor structure, wall-mounted or hanging lights should suit this purpose.
Lanterns and string lights are also popular choices for the patio, and can easily be attached along fences or set up to hang overhead.
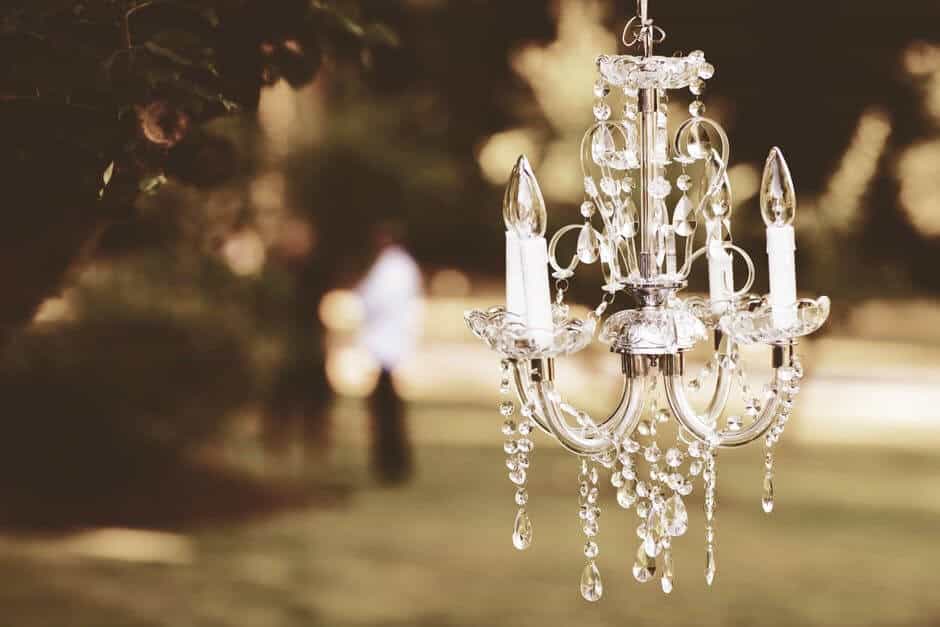
Structures & Architectural Features
With outdoor structures becoming increasingly popular, people are starting to take more of the indoors outside. You can now equip your gazebo, pavilion, or pergola with light fixtures – just make sure that they’re rated for the outdoors. Chandeliers make a unique addition to outdoor areas and add some contrast to the greenery, or for something more simple, start with string lights along the roof edges or wrapped around the pillars of the structure.
If you’d rather the main focus be on an interesting architectural element of your home, try spot lighting to highlight these areas. Use a wide beam to wash an entire area or a narrow beam to focus in on fine details like exterior moulding.
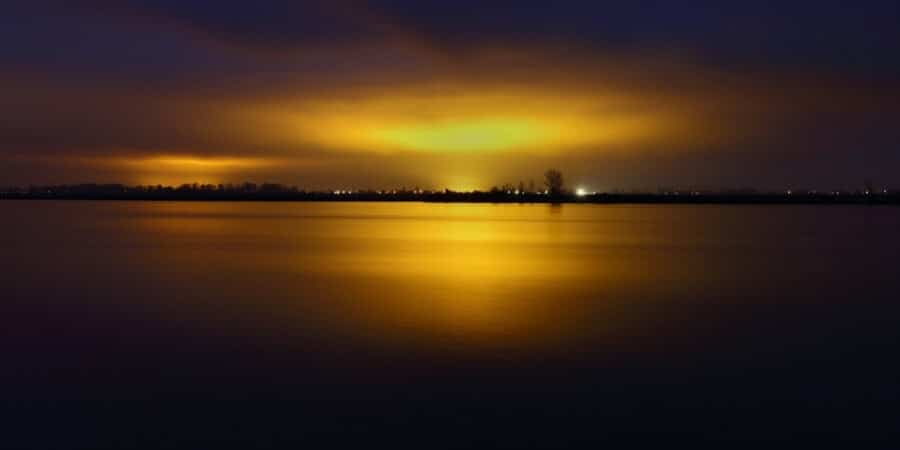
Gardens & Water Features
If you have a beautiful garden or water feature in your yard, you’ll want to illuminate it to draw the eye. With water features, ensure you select fixtures and light bulbs with IP ratings higher than 65 so they will be properly protected from water and moisture. Light bulbs that will be submerged in the water feature need to have an IP rating of 68.
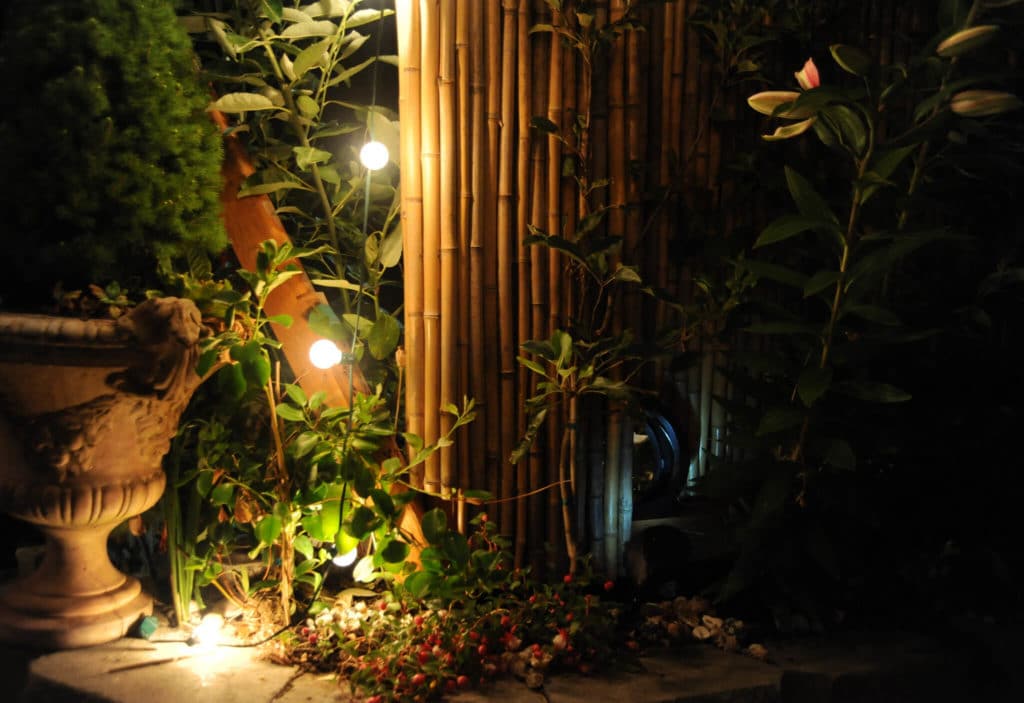
Photo by Wonderlane via Flickr.
Remember that your yard changes in appearance from month-to-month, so lighting that looks good in the full bloom of summer might need to be tweaked for the colder months. You can get around this by creating layers of light on different switches and setting up fixtures for each season:
- In warmer months, use downlighting to emphasize the bold colours in the lower levels of your garden. Make sure to use fixtures taller than flowers in your garden or place them directly inside bushy plants for inner illumination and a softer look.
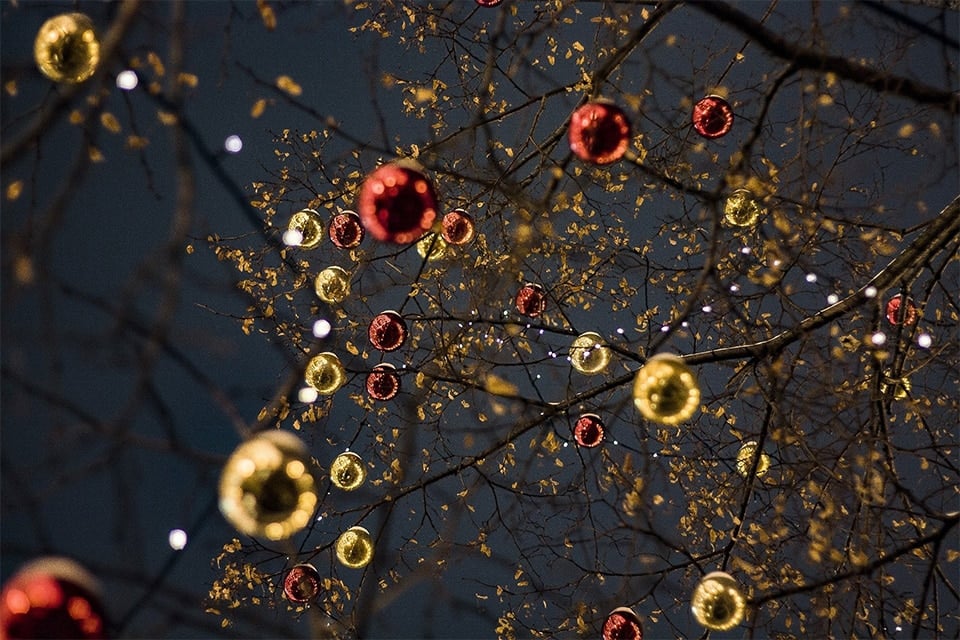
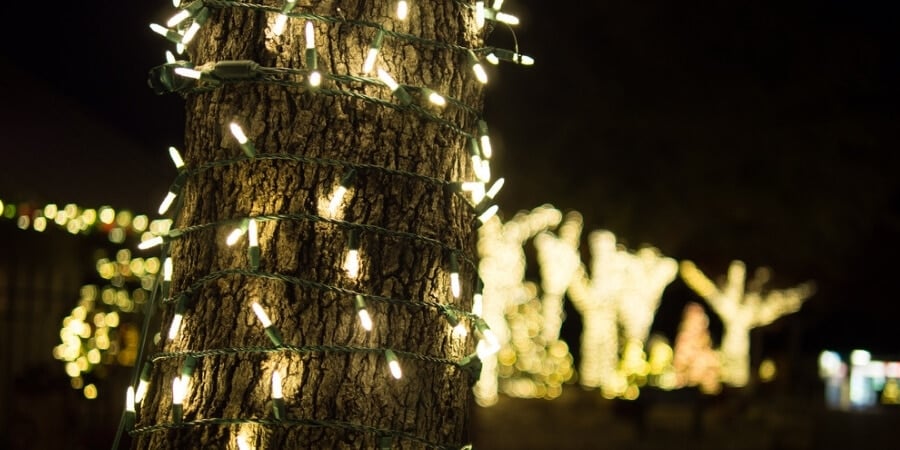
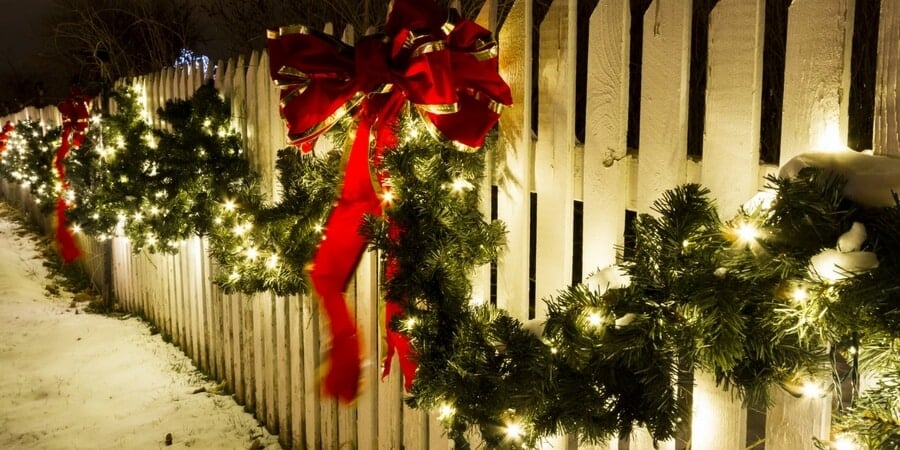
- When cold weather sets in, add some colour with holiday lights wrapped around your tree trunks and shrubbery, or use a floodlight to highlight a beautiful tree. Use multiple light sources to illuminate the tree and to eliminate shadows.
All Lit Up
Whether you’re interested in a classic look or if you’d like to incorporate some modern designs into your outdoor lighting, don’t be afraid to get creative! If you have any questions about outdoor lighting or if you have ideas you’d like some advice about, get in touch with our experts using the new chat feature on our main page or contact us at +44 (01869) 362222 or [email protected].
Shop our full selection of outdoor lights.