Whether you were gifted a smart lighting setup over the holidays OR you are gifting it to yourself as part of your 2020 resolution to simplify your life (or make your home more hygge) smart lighting continues to outshine traditional lighting in our homes. Love it or hate it, it’s a lighting trend that cannot be ignored.
Whatever your reasons for getting smart lighting, many people struggle with the set-up and installation process. Don’t worry—we have created an enlightening guide to help you smarten up your lighting with ease, from choosing the right bulbs to installing your smart upgrades.
Step 1. Installing the components
Installing the smart bulbs themselves is actually a fairly simple process. For those who are unfamiliar, simply start by removing your old light bulbs:
- Turn off all power to the light bulb, and leave them to cool for a while if they have been operating, especially if they are incandescent or halogen bulbs, which can get quite hot and cause injury if touched.
- Twist the bulb to the left (counter clockwise) until it releases from the lamp fixture
- Place it carefully on a surface that it won’t roll off of. We recommend collecting the bulbs in a cardboard box
With the old bulb(s) safely set aside, it’s time to install the new ones:
- Remove the new smart bulb from its packaging
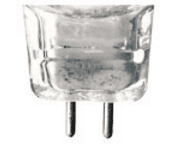
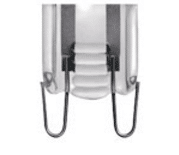
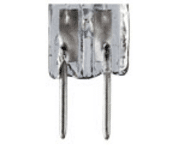
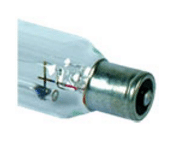
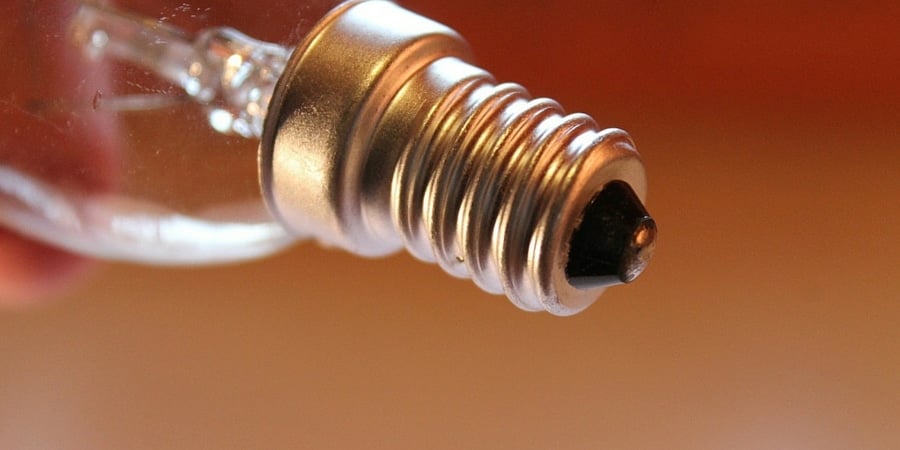
- Place the base of the bulb into the fixture and turn it to the right (clockwise) until it clicks into place (for GU10s and bayonets) or feels snug (screw bases).
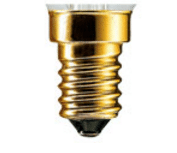
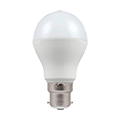
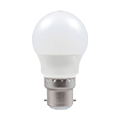
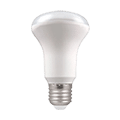
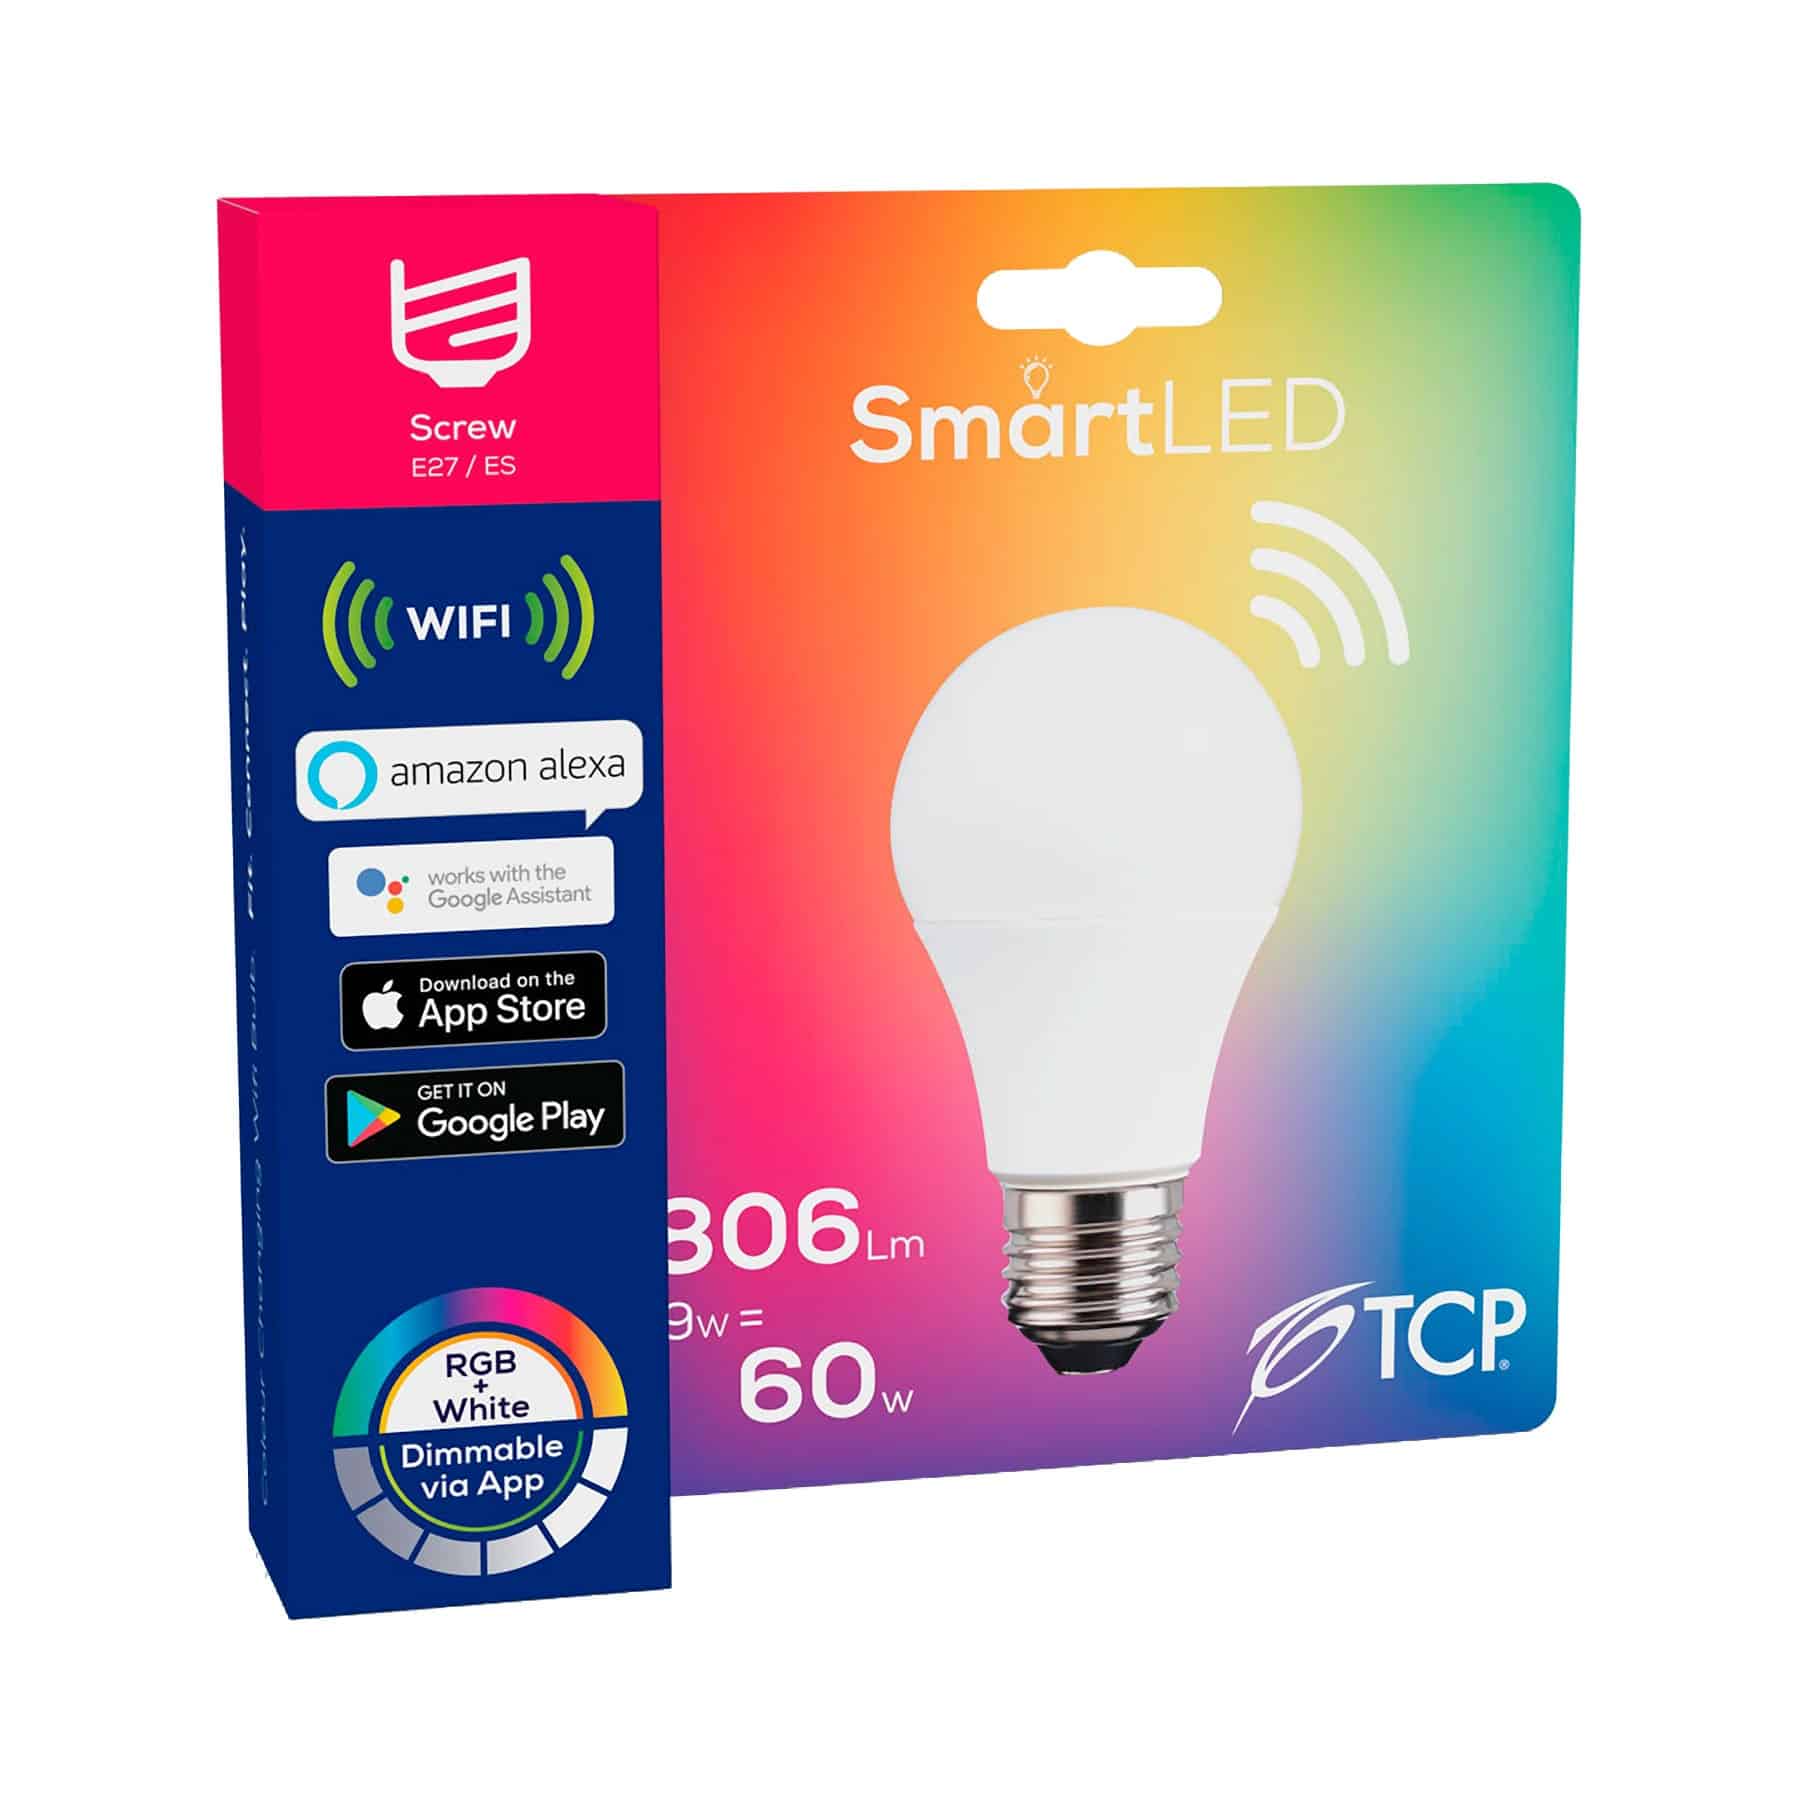
Screw Base (AKA Edison Base)

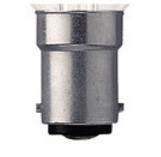
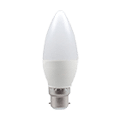
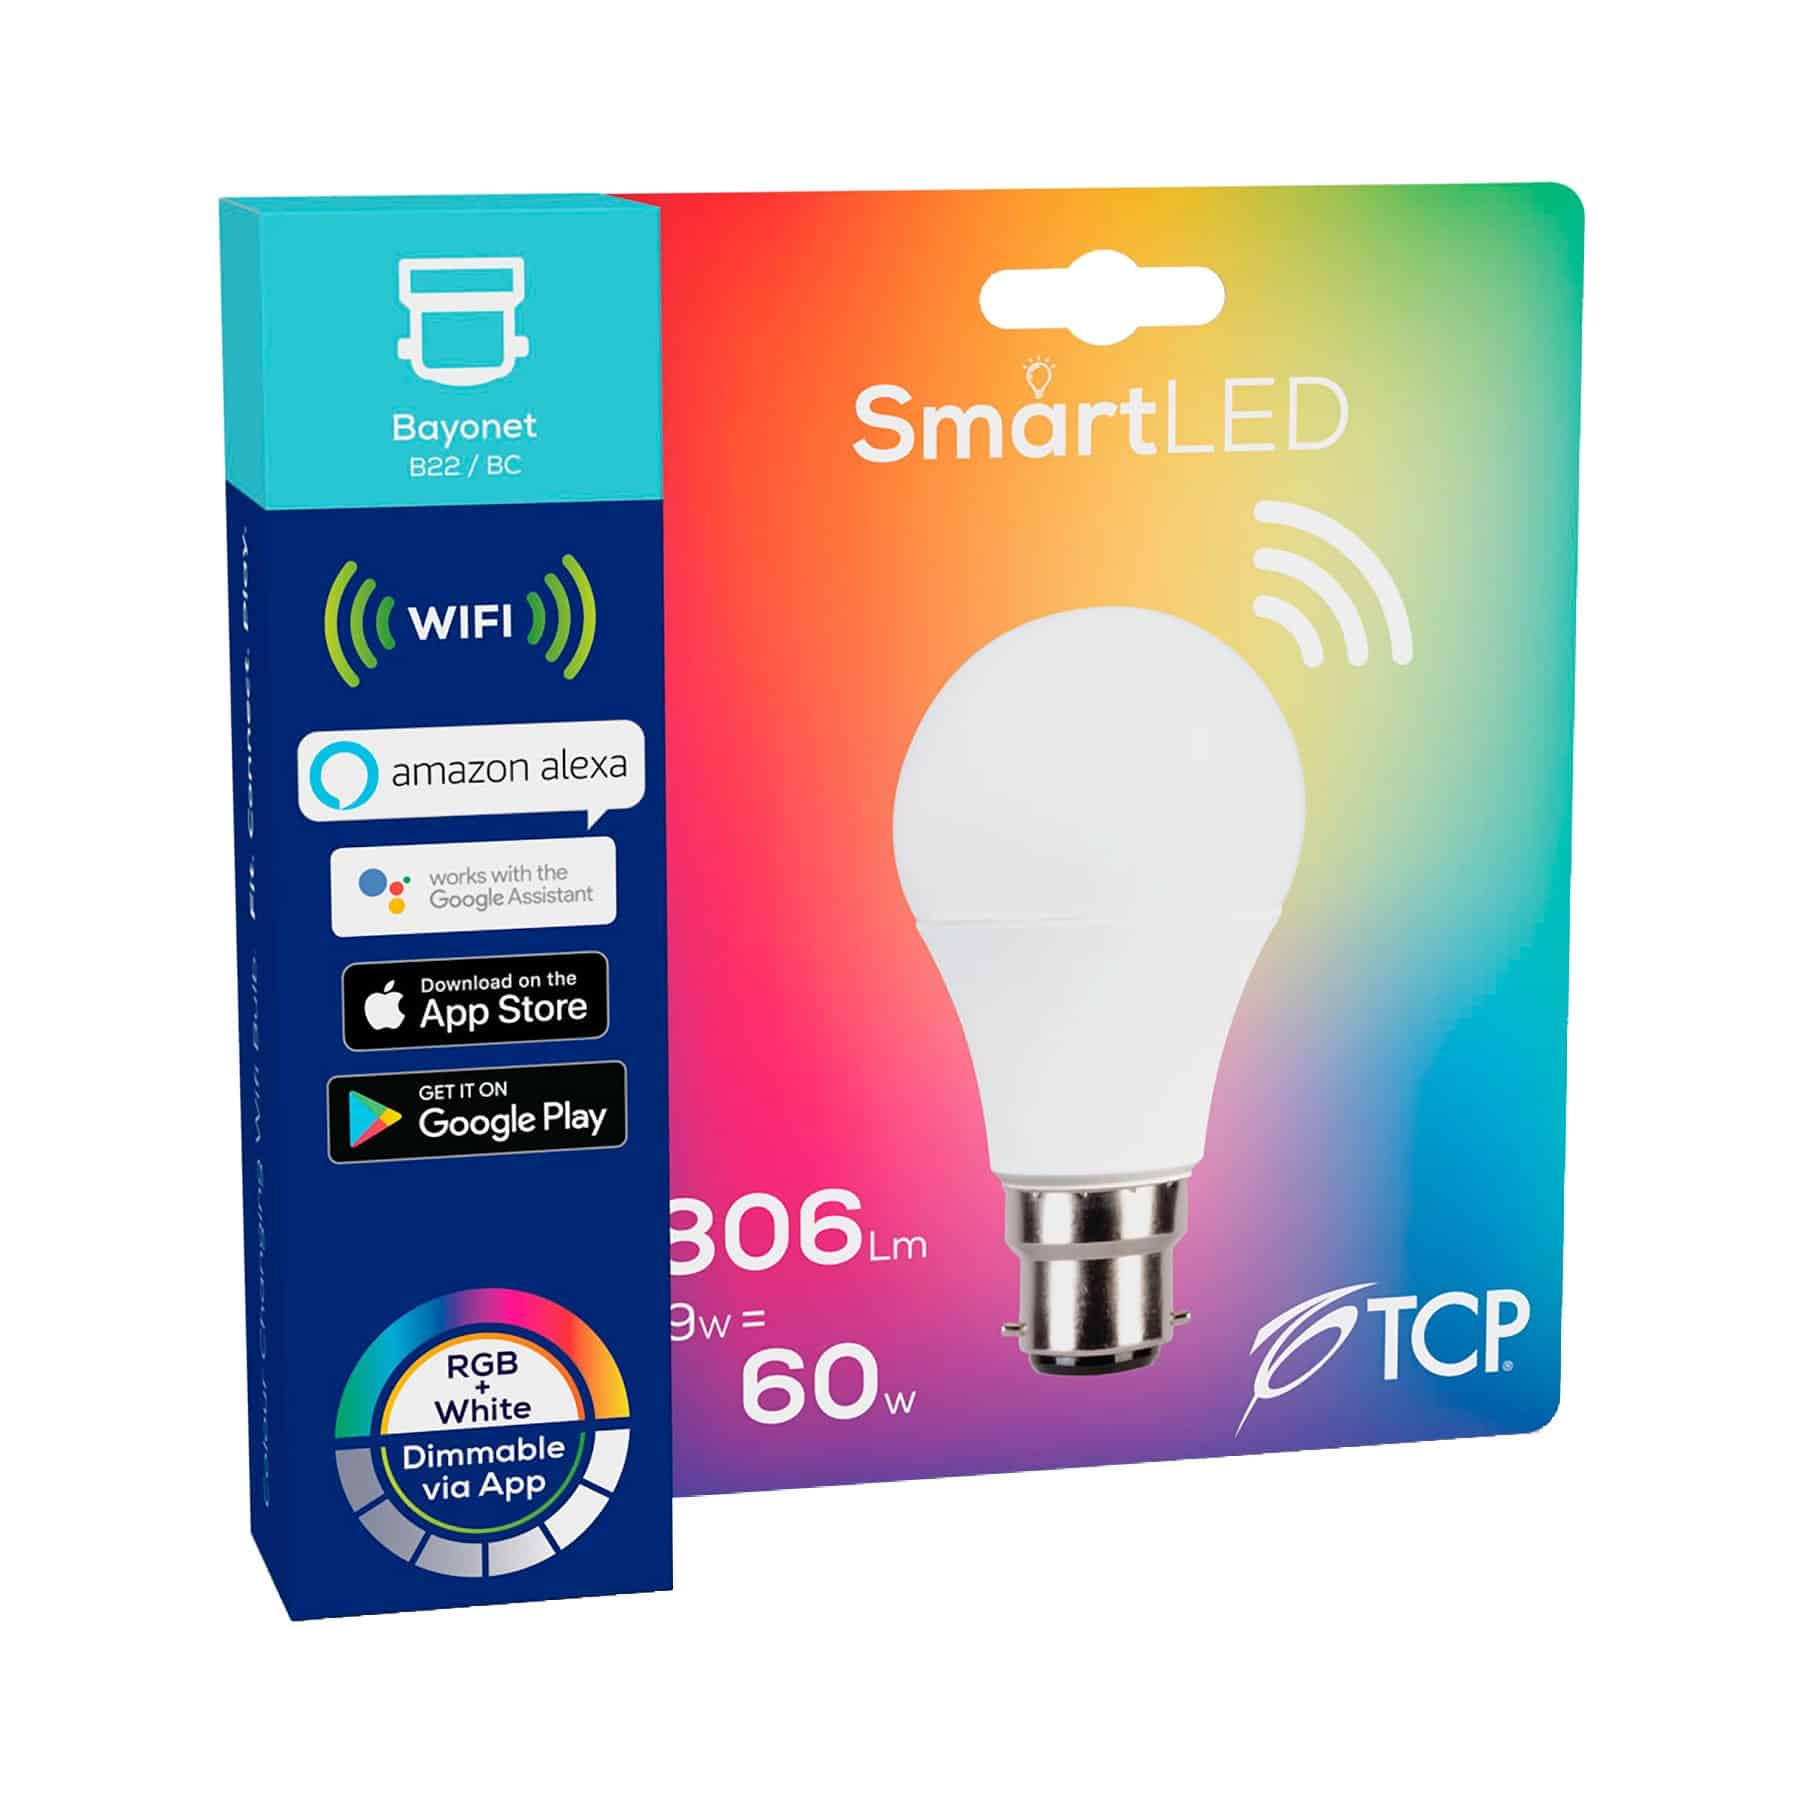
Bayonet Base
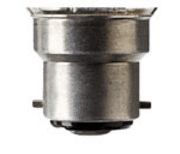
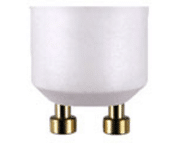
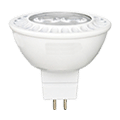
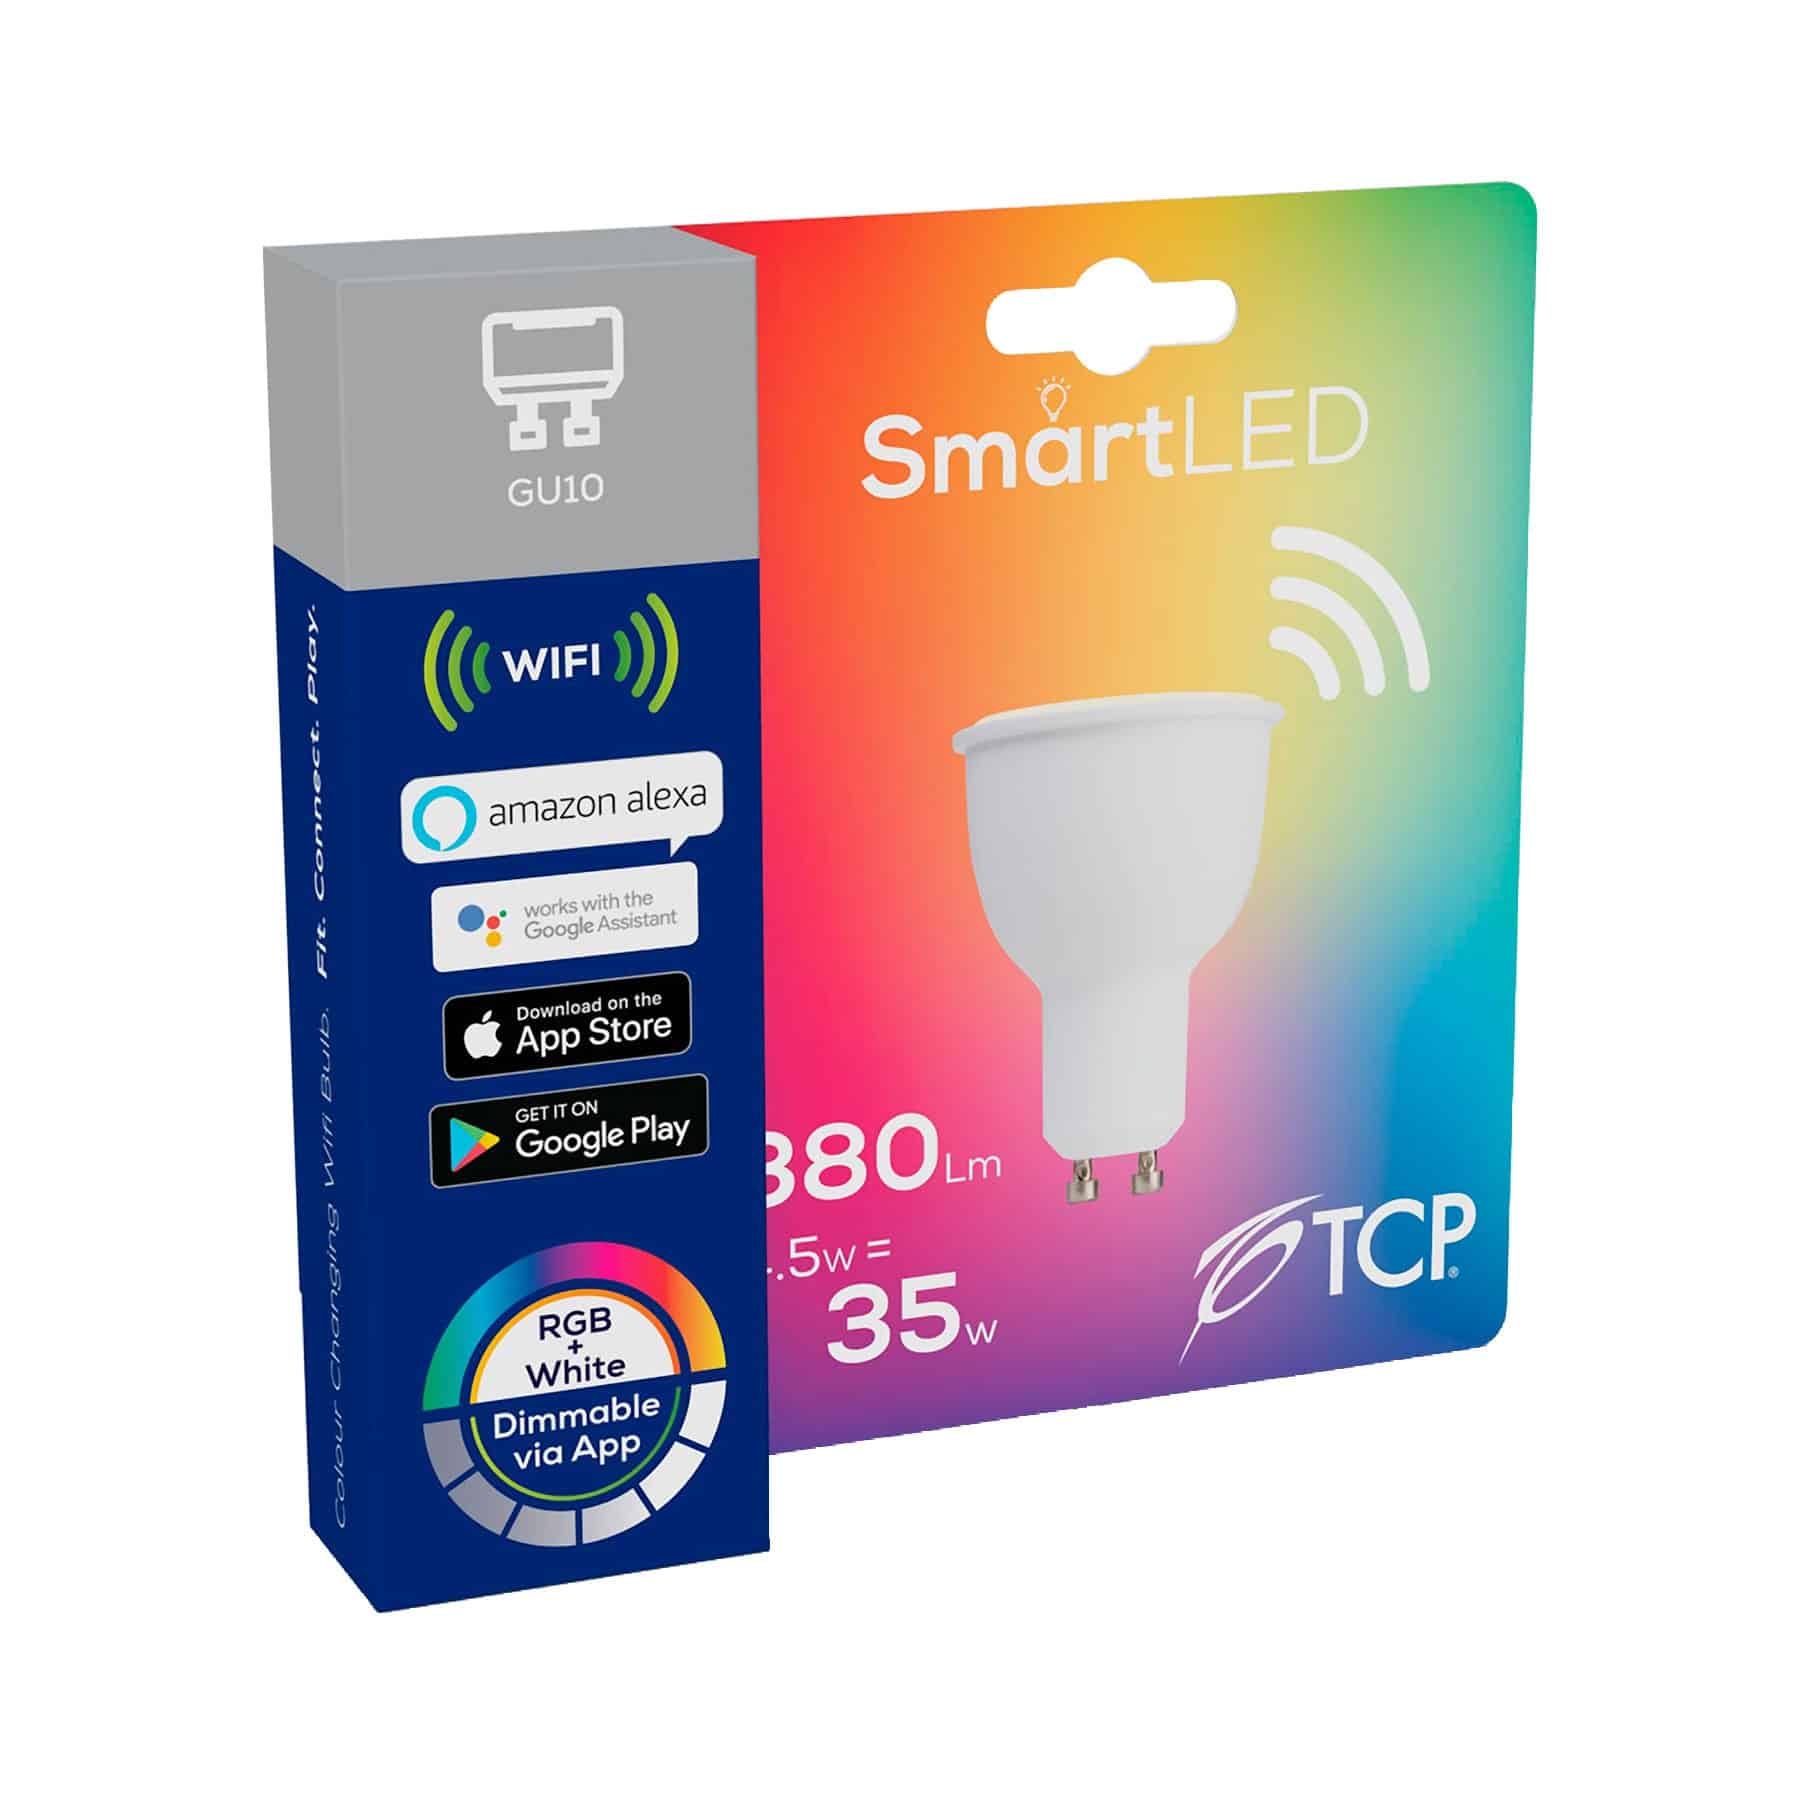
GU10 Base

With your light bulbs installed, break down the packaging for recycling in your bins and safely dispose of your old bulbs if you’re not keeping them:
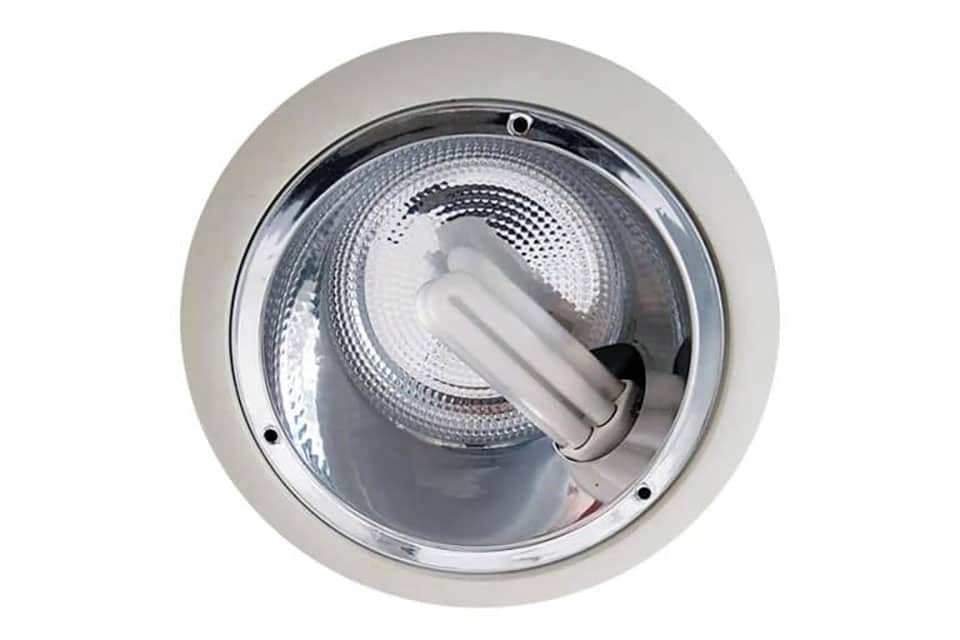
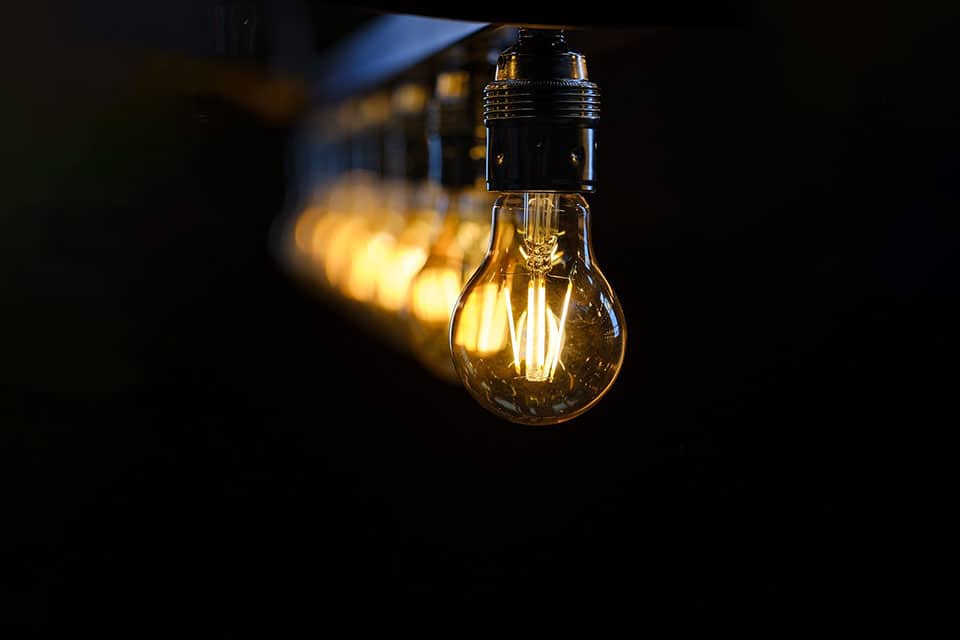
- Incandescent and halogen bulbs can be disposed of in your normal bins. Just make sure you wrap them in newspaper or dispose of them in sealed cardboard boxes so your binmen don’t injure themselves.
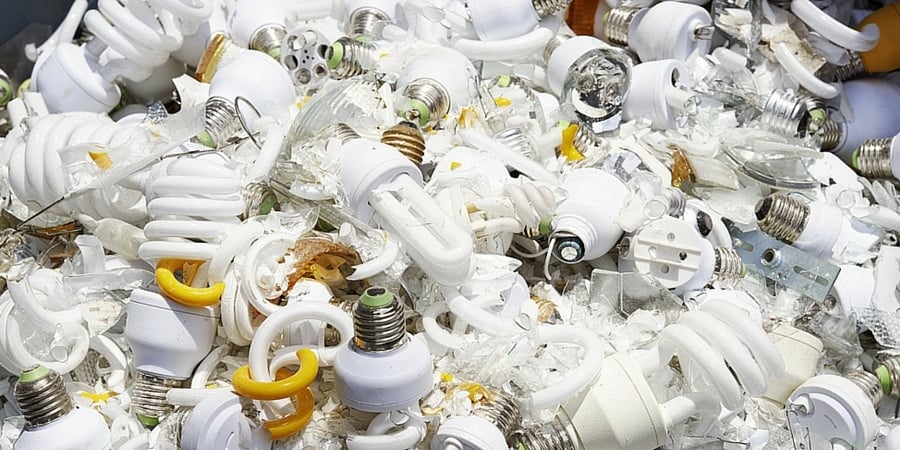
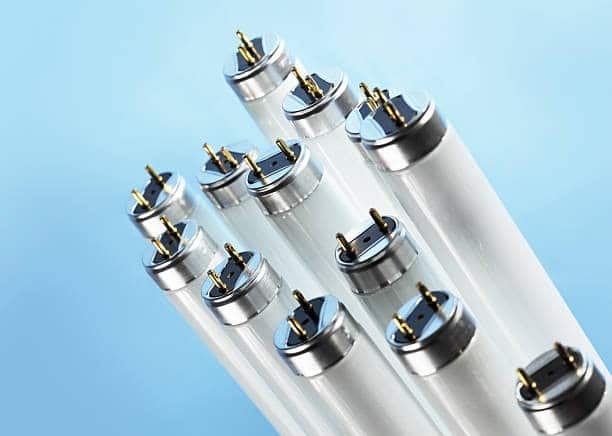
- Fluorescent, CFLs, and other bulbs bearing the crossed out wheelie bin symbol should be disposed of by one of these methods:
- Taking them to your local household waste recycling centre or collection point
- Arranging for collection with local authorities
- Donating the items to an organization that collects them
- Arranging a like-for-like collection from your supplier or retailer
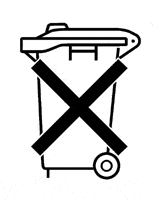
Learn more about the WEEE Directive and how to properly dispose of light bulbs.
With the simplest part of the process out of the way, it’s time to connect your light bulbs to their apps, hubs, and smart speakers (if you so desire).
Step 2. Connecting the components
This is where things can start to feel more complicated.
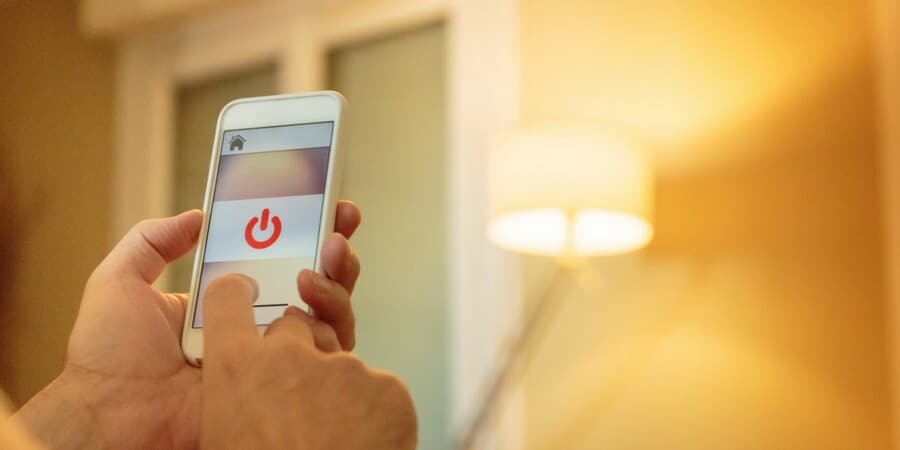
Smart lighting is typically connected using something called “mesh networking” (aka meshnet), such as the ZigBee or Thread protocol, and are almost always controlled by a hub that is connected to your WiFi router. The hub controls the smart bulb network and allows you to control your lighting from your phone, tablet, or smart speaker.
| Mesh networking means that each smart bulb connects wirelessly to the smart bulb closest to it. This method typically uses less power and responds to instructions much quicker than some built-in alternatives like Bluetooth or connecting directly to WiFi. However, bulbs that rely on mesh networking need a hub or “bridge” to connect to routers. |
While most systems will require a hub, some light bulbs are capable of connecting directly to your WiFi, so make sure you check the package instructions to ensure you have all the pieces required to make your bulbs smart.
Some light bulbs let you choose between connection methods. There are commonly shared benefits and drawbacks to both options, regardless of which type of system you have decided on:
Connection Method | Bluetooth | Hub or bridge |
|---|---|---|
| Max # of Lights | Typically fewer bulbs, usually around 10 | Can often connect upwards of 50 bulbs |
| Range | Limited to the class and range of Bluetooth, usually a max of 10 metres. | The entirety of the house |
| Timers and schedules | Not universally | Yes |
| Away-from-home control | No | Yes |
With your light bulbs installed in their fixtures, the next steps for connecting smart bulbs are fairly standard across all brands. Different brands use different terminology and different menus, but you can generally expect the process to look something like this:
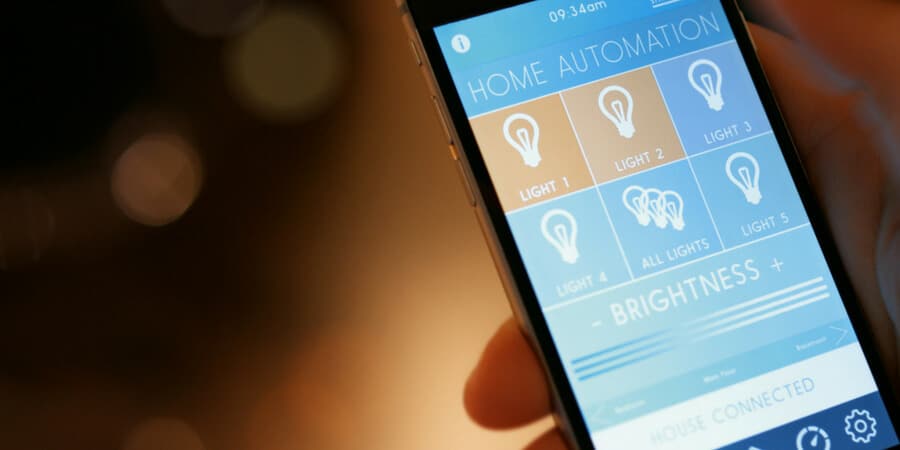
- Install the app. Information about the appropriate app to install will be included in the package instructions.
- After downloading and installing the app, you will need to log in or create an account.
- Select “add a new device” (ie. the smart bulbs) to the app. Where this is found will depend on the phone or tablet you are using.
- Turn on the lamp. It should blink several times.
- Follow the prompts in the app or ask your smart speaker to discover the smart light bulbs (A.K.A. devices).
- It may then ask you to assign bulbs to a room, to name them, and apply any available automations to them.
For more detailed, product-specific instructions, including Philips Hue alternatives, find your manual below:
Popular brand-specific instruction manuals for connecting light bulbs and hubs:Choosing your smart bulbs
There are a wide variety of smart light bulbs available on the market, with prices that range from relatively cheap to very expensive. If you haven’t already been gifted a set for the holidays, how much you need to spend will depend on your current smart home setup and your end goals for what your new smart lighting will accomplish:
- If you simply want to be able to control the lights without having to get up, save your money and look for light bulbs in the lower price range.
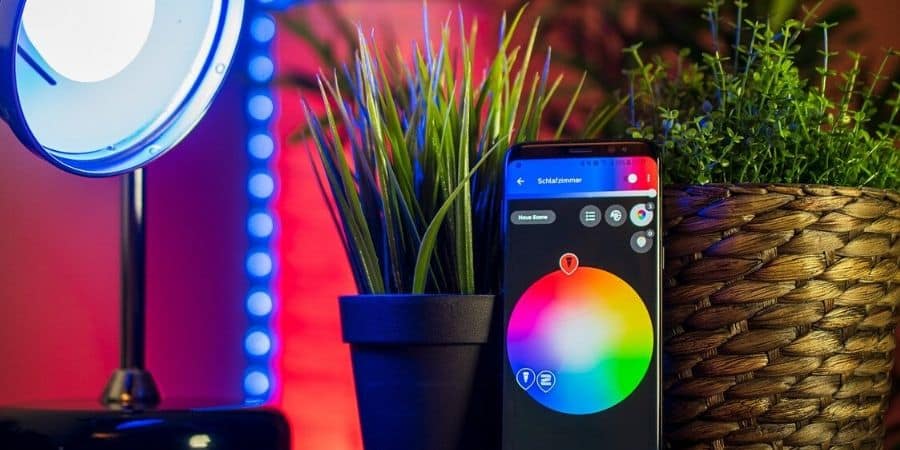
- If you want colour-changing lights or the option to connect your lighting to your TV and have it reflect the action in movies or video games, you will need to spend a bit more on your system.
There are some reasonably-priced, colour-changing Wi-Fi connected light bulbs, so don’t discount colour-changing bulbs entirely if you were hoping to pinch your pennies and add ambience. Try these Philips Hue alternatives:
When disposing of smart light bulbs, remember to digitally wipe them before donating or recycling them. This should be doable within the app.
PRO TIP: If you’re not ready to take the plunge and fully invest in smart lighting just yet, you can also install smart plugs and switches to test out connected lighting at a lower cost.Looking for Alexa-compatible bulbs? Try these options:
- LIFX Colour
- Philips Hue White and Colour Ambience
- Sengled Smart WiFi LED
- Eufy Lumos White & Colour by Anker
- Wyze Bulb
Read Android Central’s list of the best smart bulbs for Alexa for more information.
Conclusion
Whether you are proficient with new technologies or you don’t know how to install a light bulb by yourself, setting up your smart lighting is easier than you might think.
- Remove your dumb light bulbs and install the smart light bulbs
- Download the app
- Create or login to your account
- Manually turn on the light fixtures
- Add the smart light bulbs and hub to the app
- Follow the prompts from within the app
- Begin controlling your lights via smart speaker and voice command, tablet, or phone
- Recycle all packaging waste and properly dispose of your old bulbs
Learn more about smart lighting:


