Switching to LEDs is actually a fairly simple process. Most LED bulbs are compatible with your current fixtures and can easily be replaced like-for-like, but there are a few steps you need to take and some things to keep in mind before you buy:
Step 1: Determine What Type of Base and Bulb your Fixture Takes
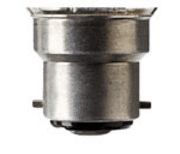
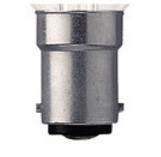
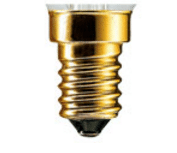
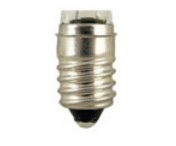
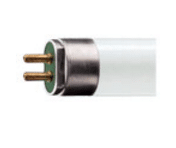
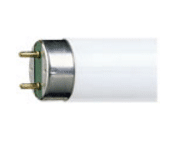
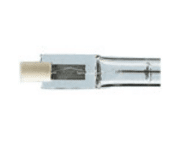
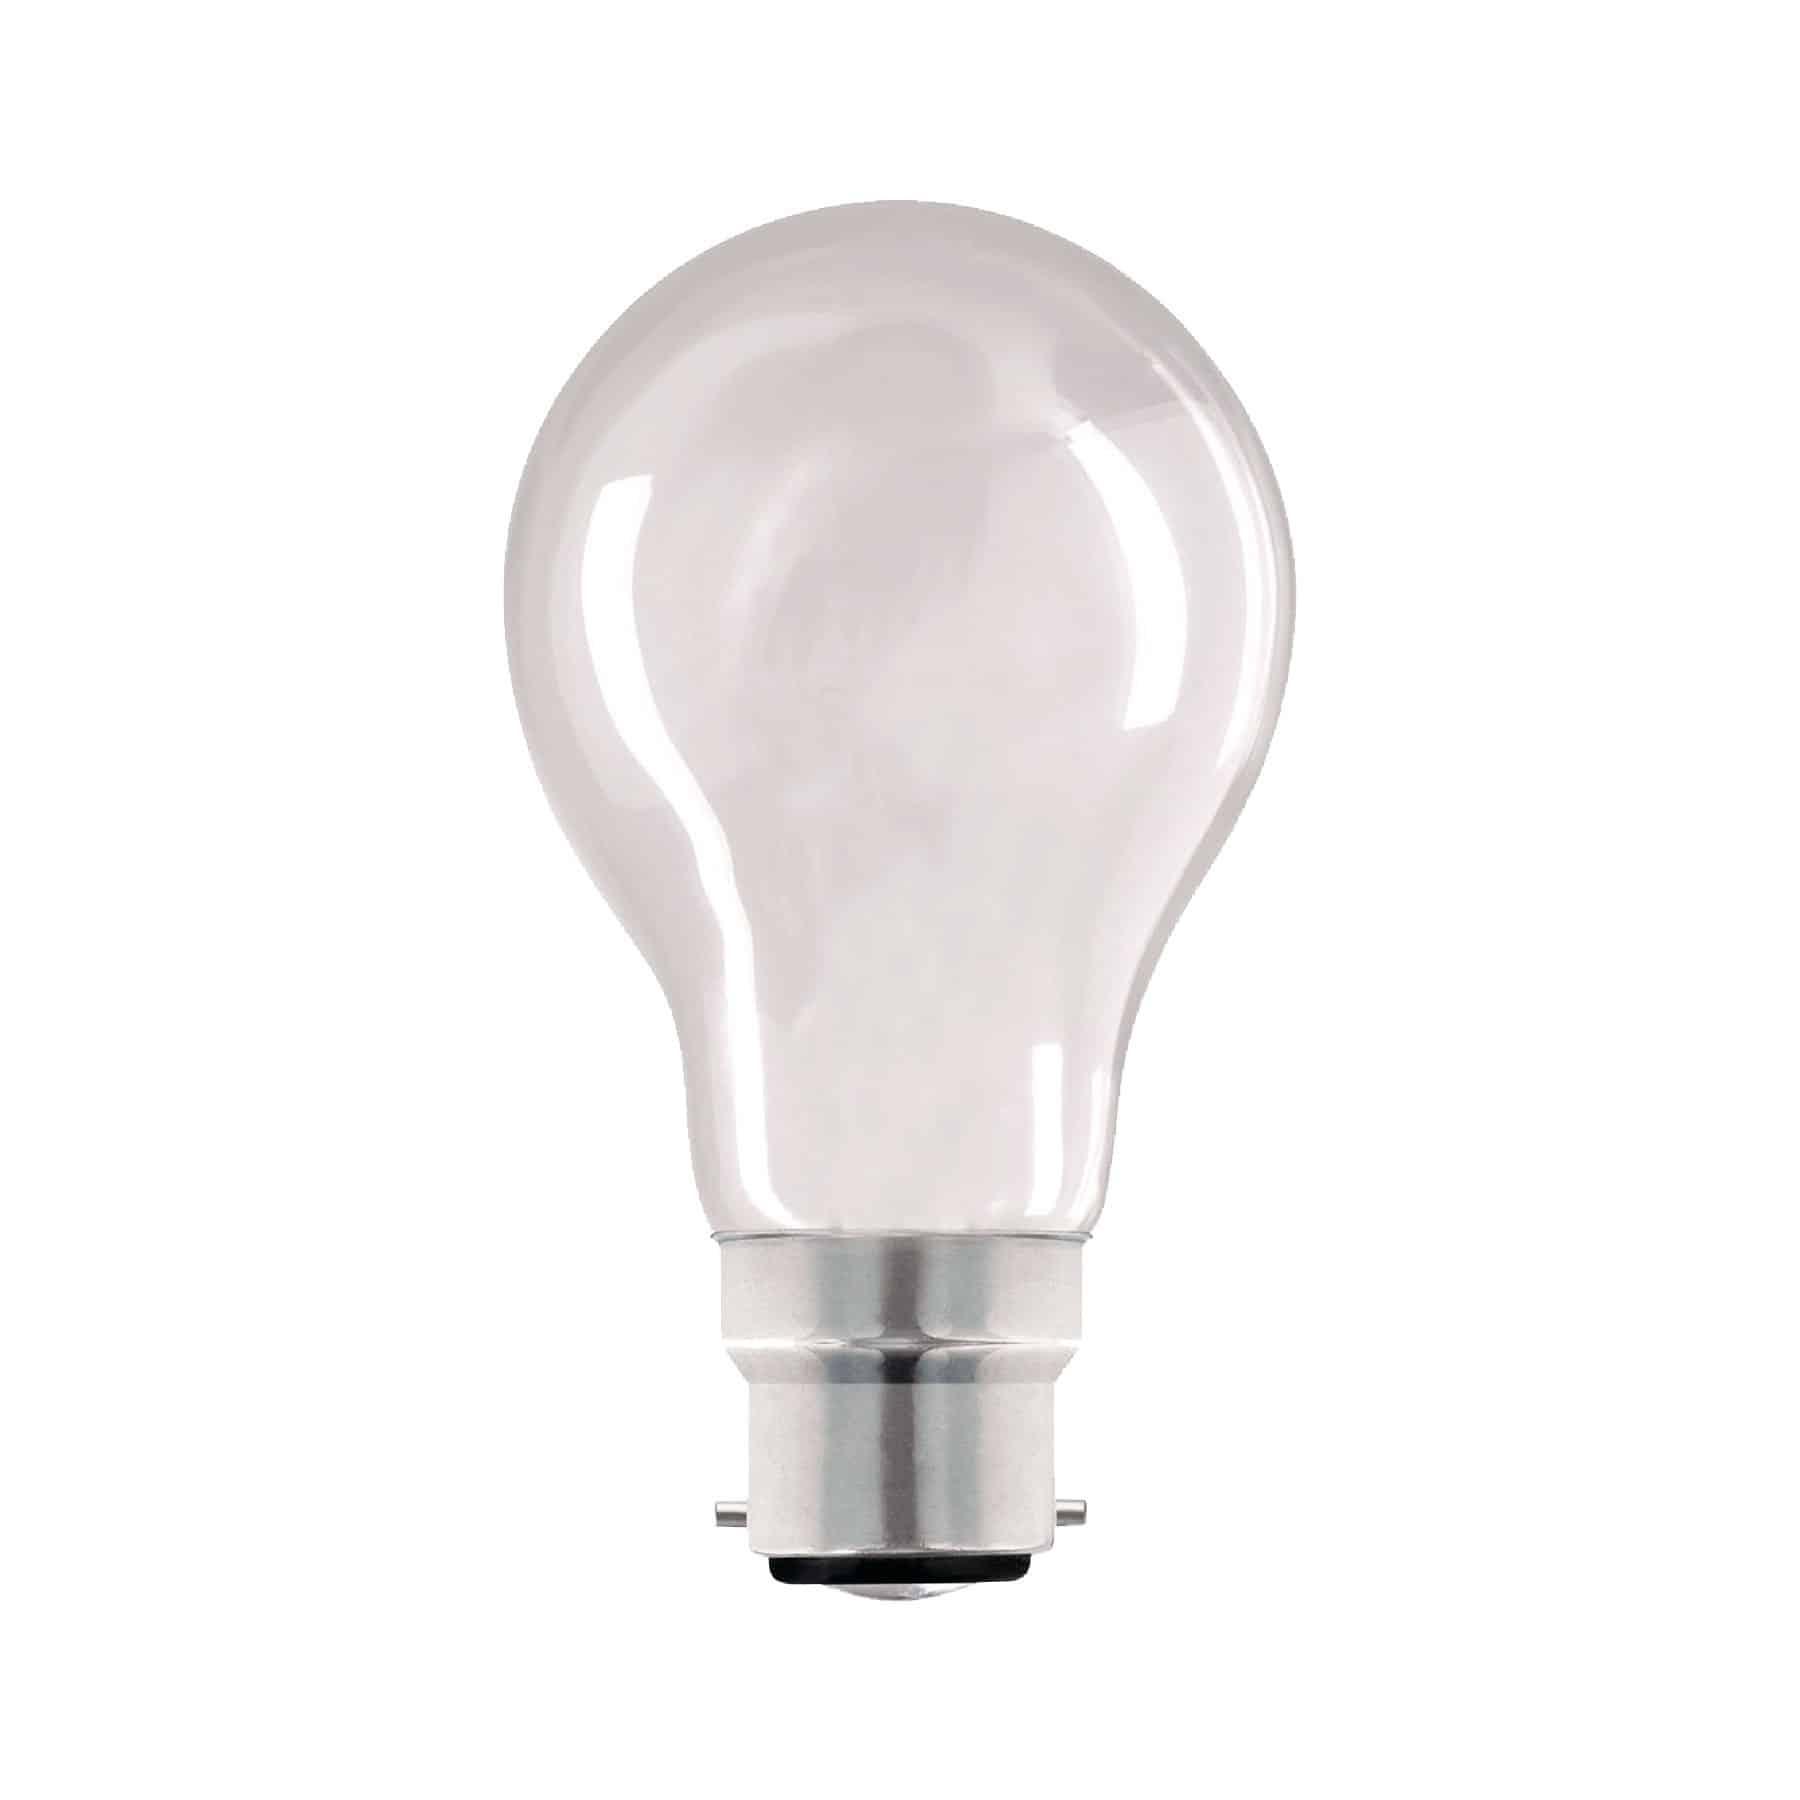
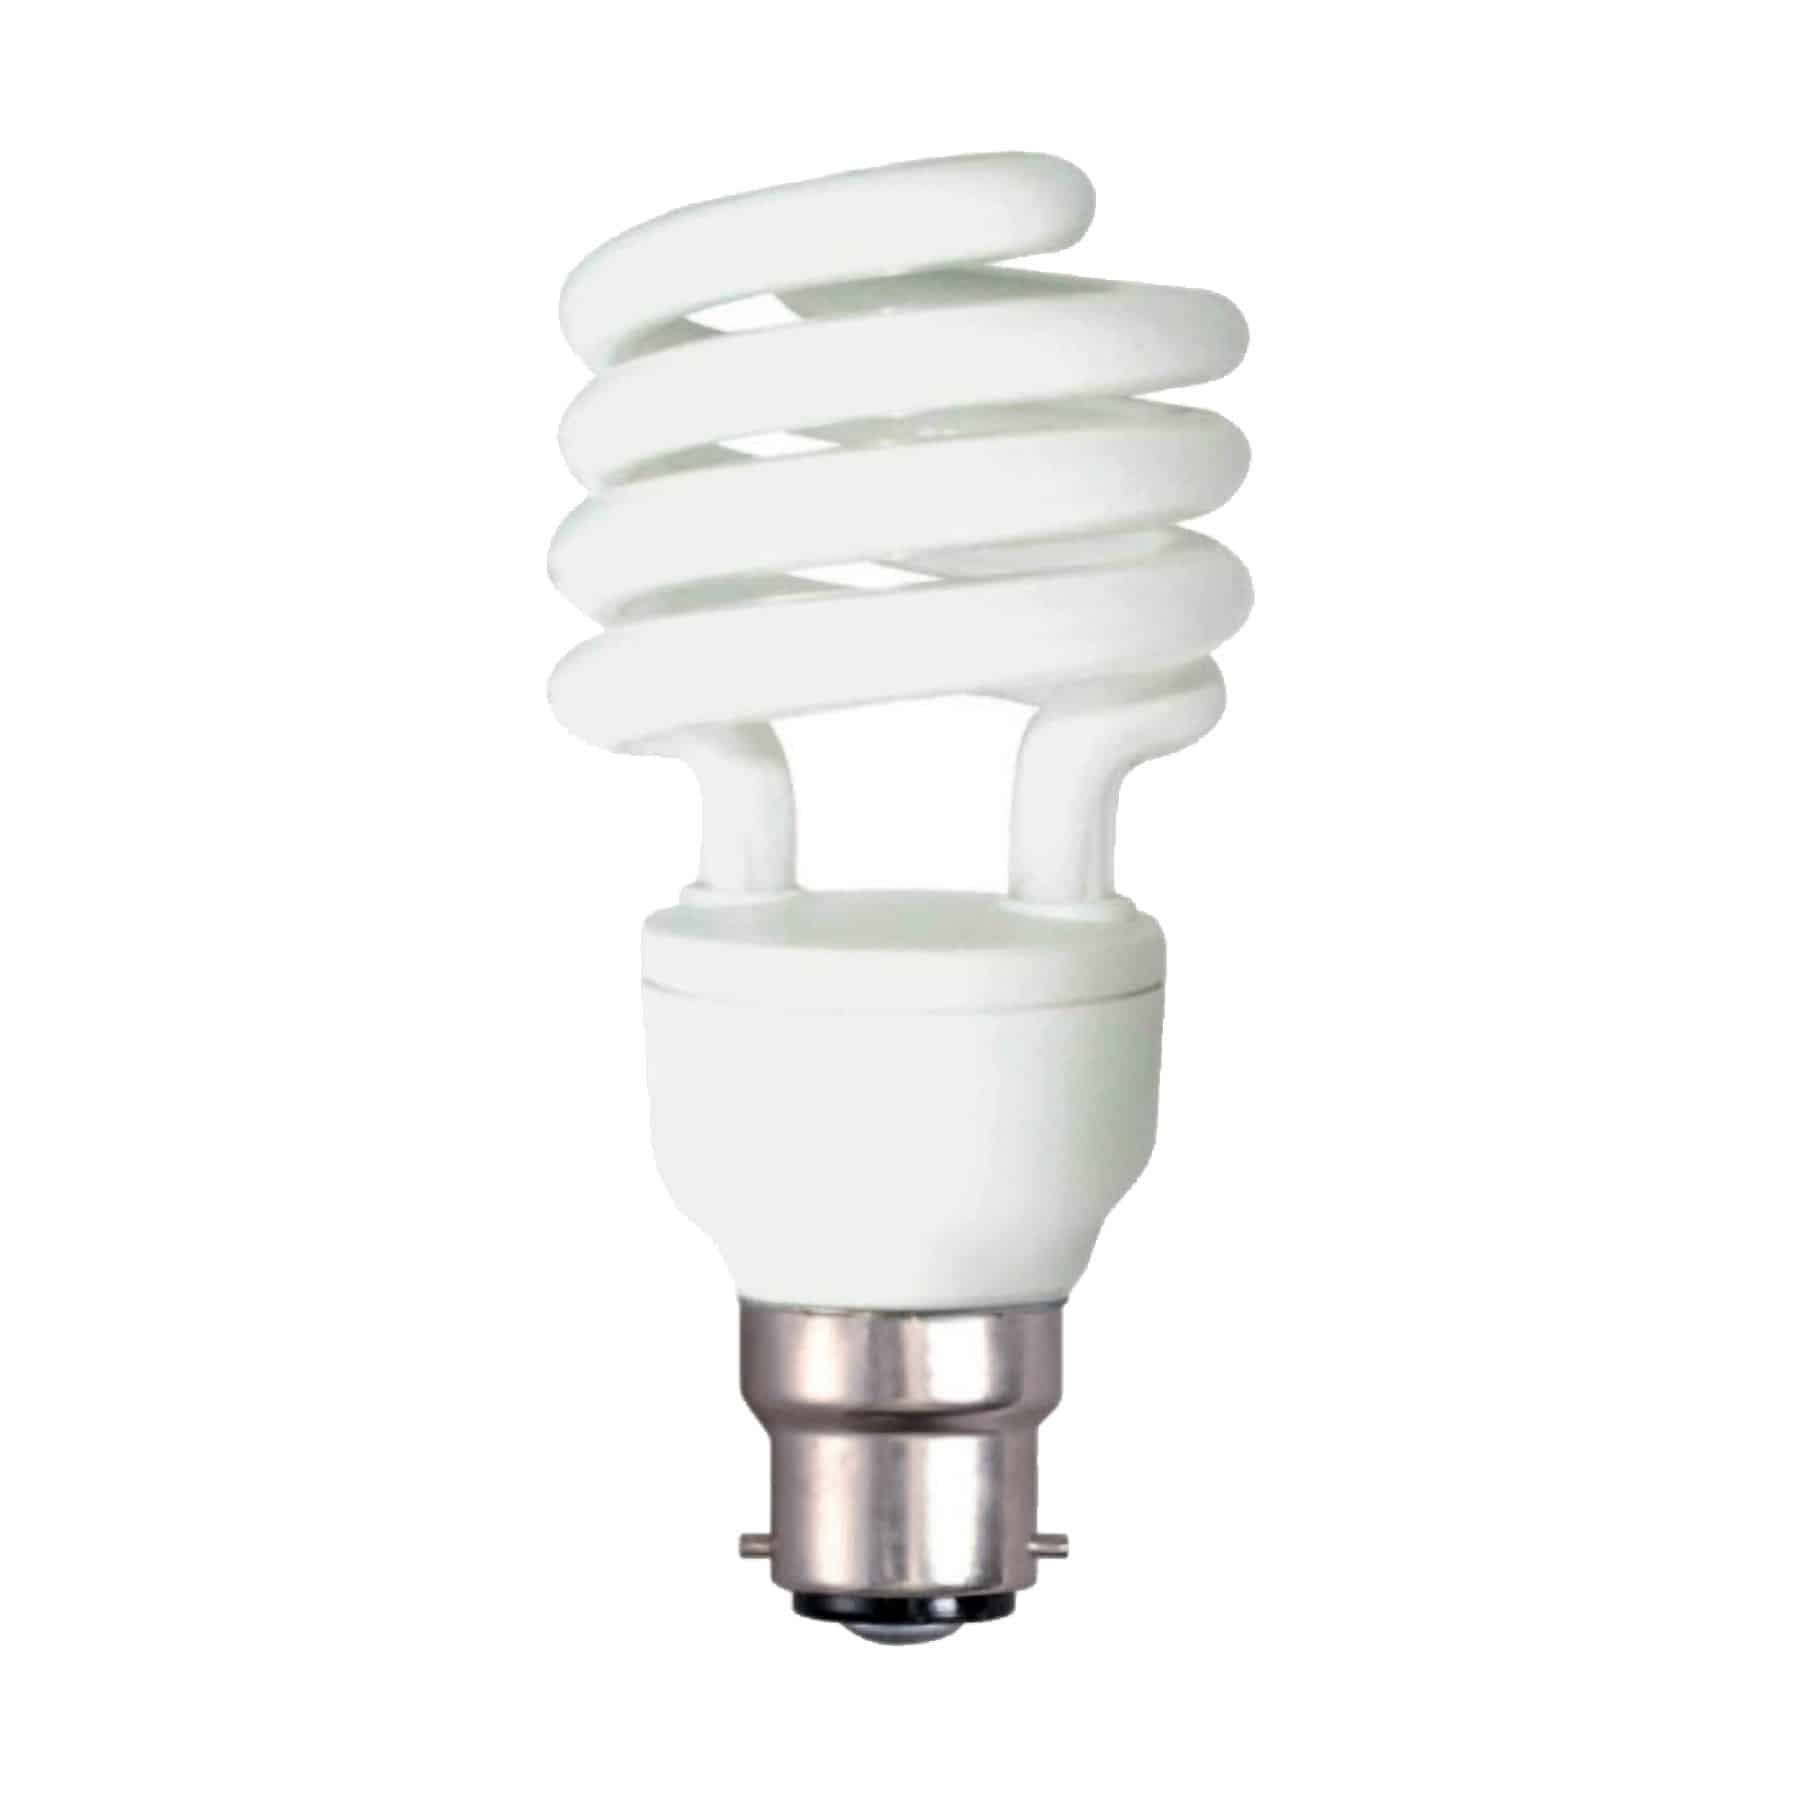
Unless it’s for a special fixture, such as a recessed pot light or chandelier, the standard lamp typically requires a bayonet (B22) or edison screw (E27) base. The most commonly used base type in the UK is the bayonet, but using our photo guide and your current light bulb, you should be able to determine which base you need fairly easily:
 |  |  |  |  |  |  |  |
 |  |  |  |  |  |  |  |
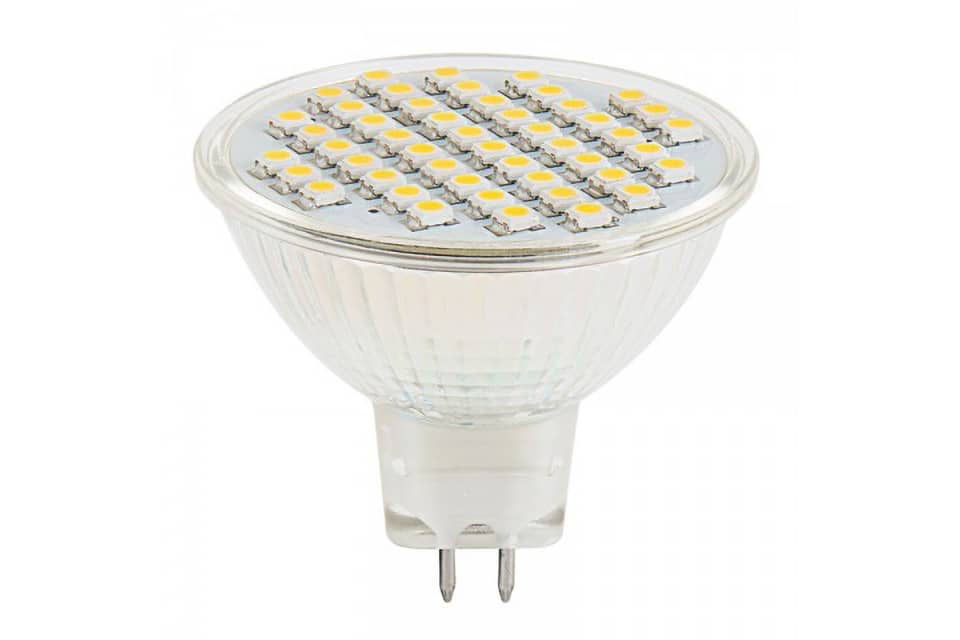
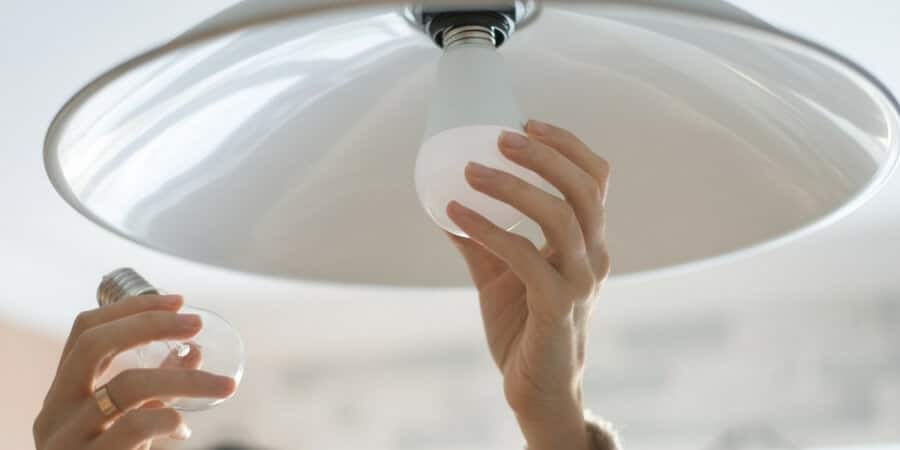
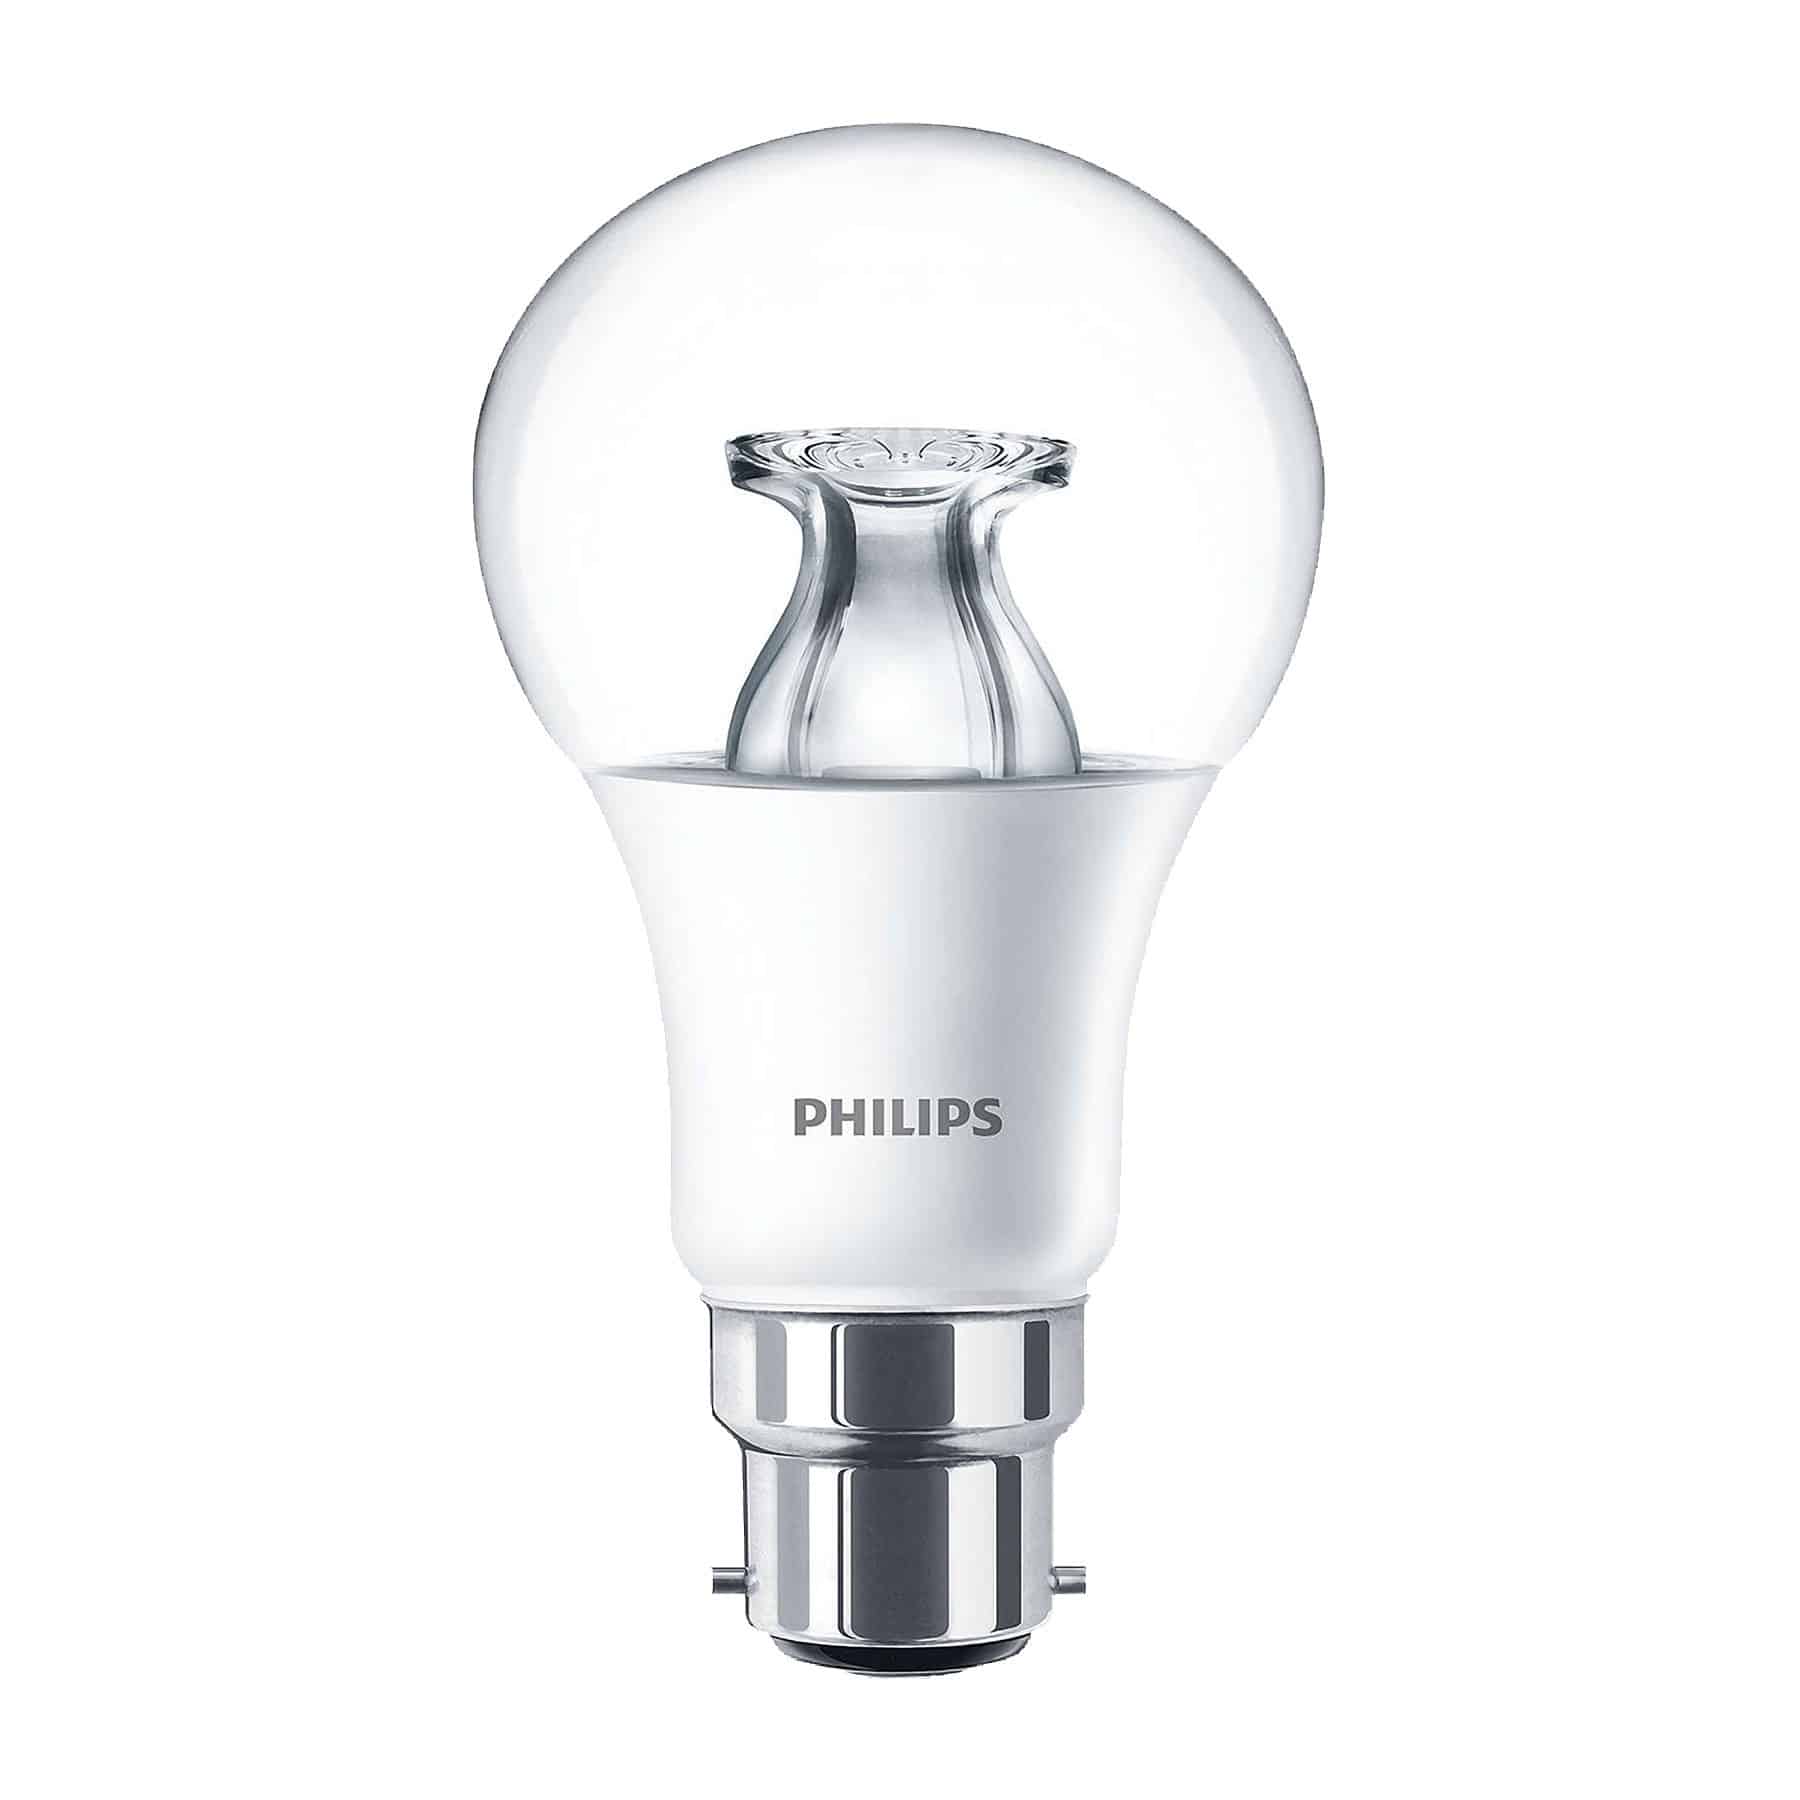
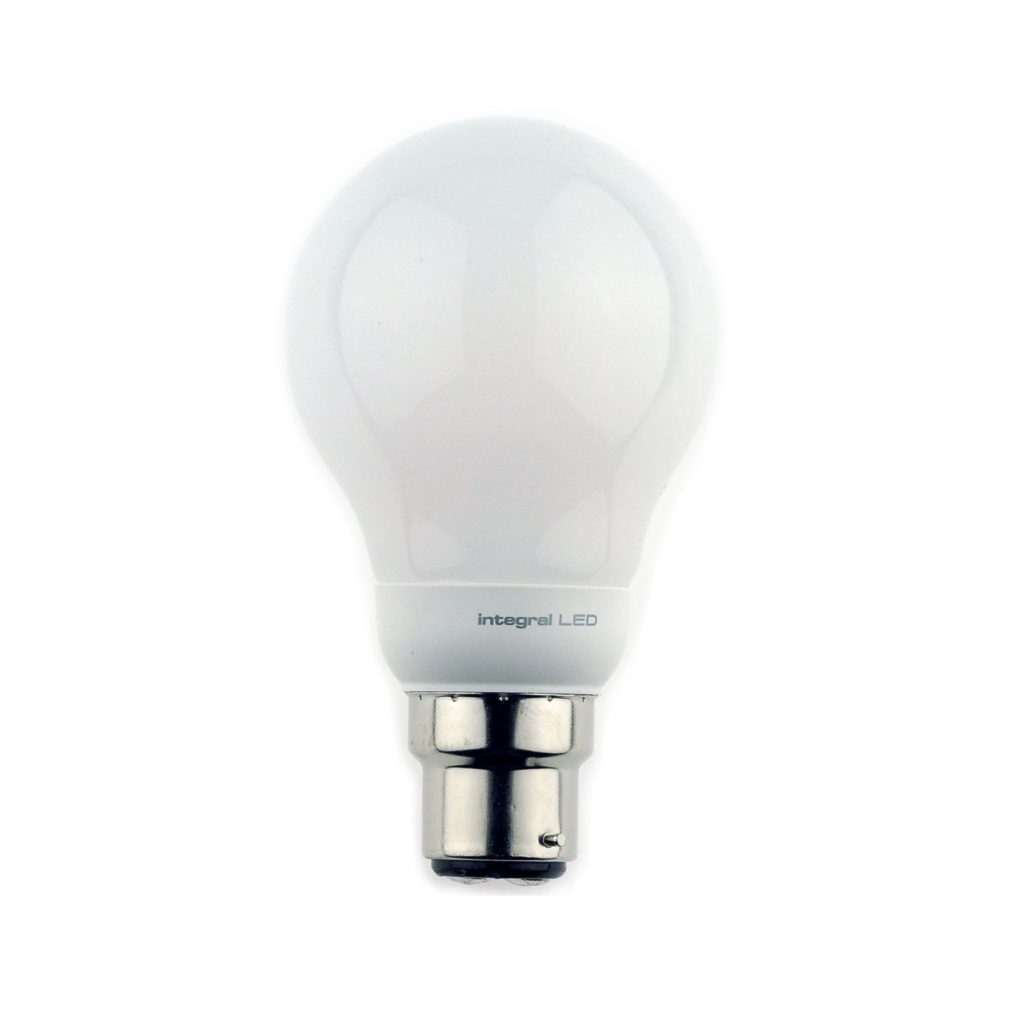
The replacement LED bulb will look almost identical in size and shape to your current bulb, with a few minor differences, such as:
- LEDs are typically made of plastic
- There may be a plastic or metal heat sink that will be located between the base and lighted area
- No filament
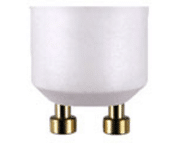
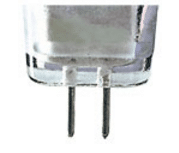
This chart can help you find the right replacement LED for your fixture:
|
|
|
|
|---|---|---|---|
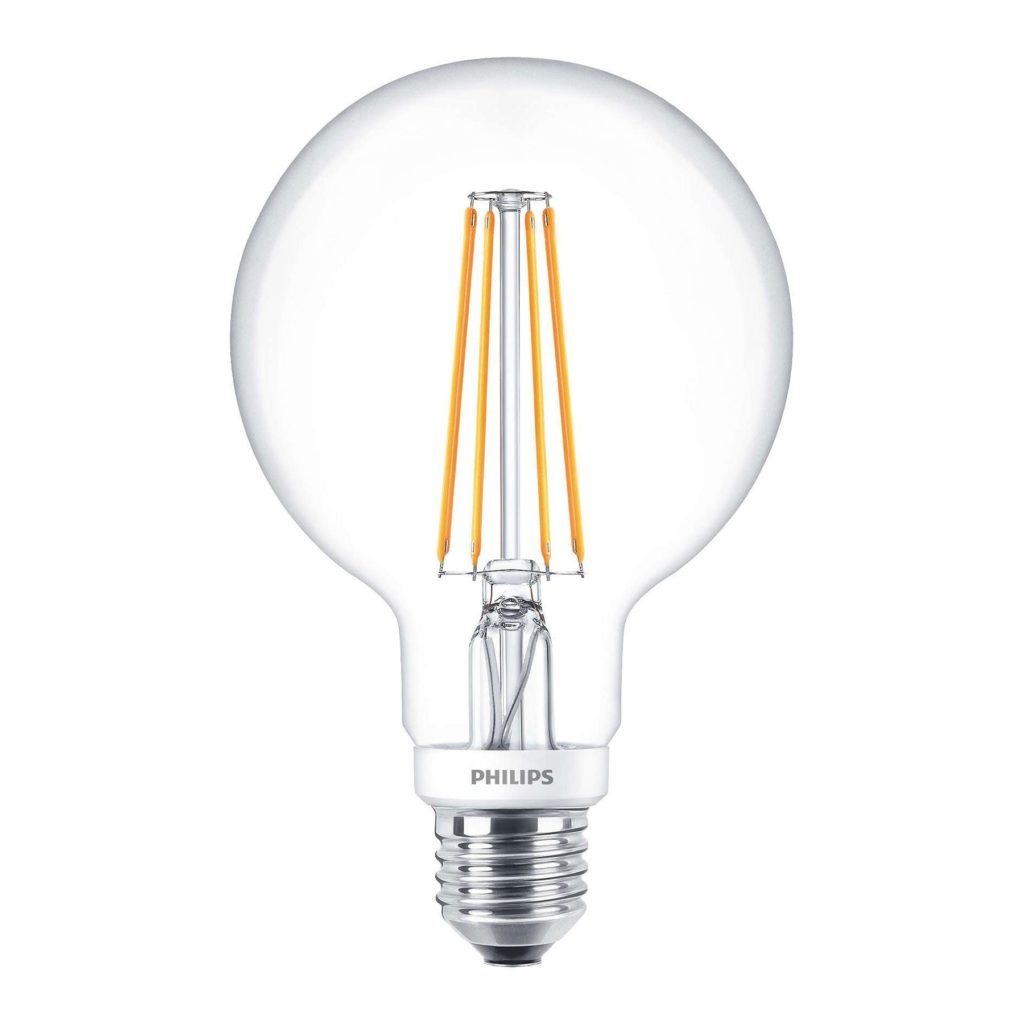
GLS
|  |  |  |
Candle
|  |
||
| Golfball | 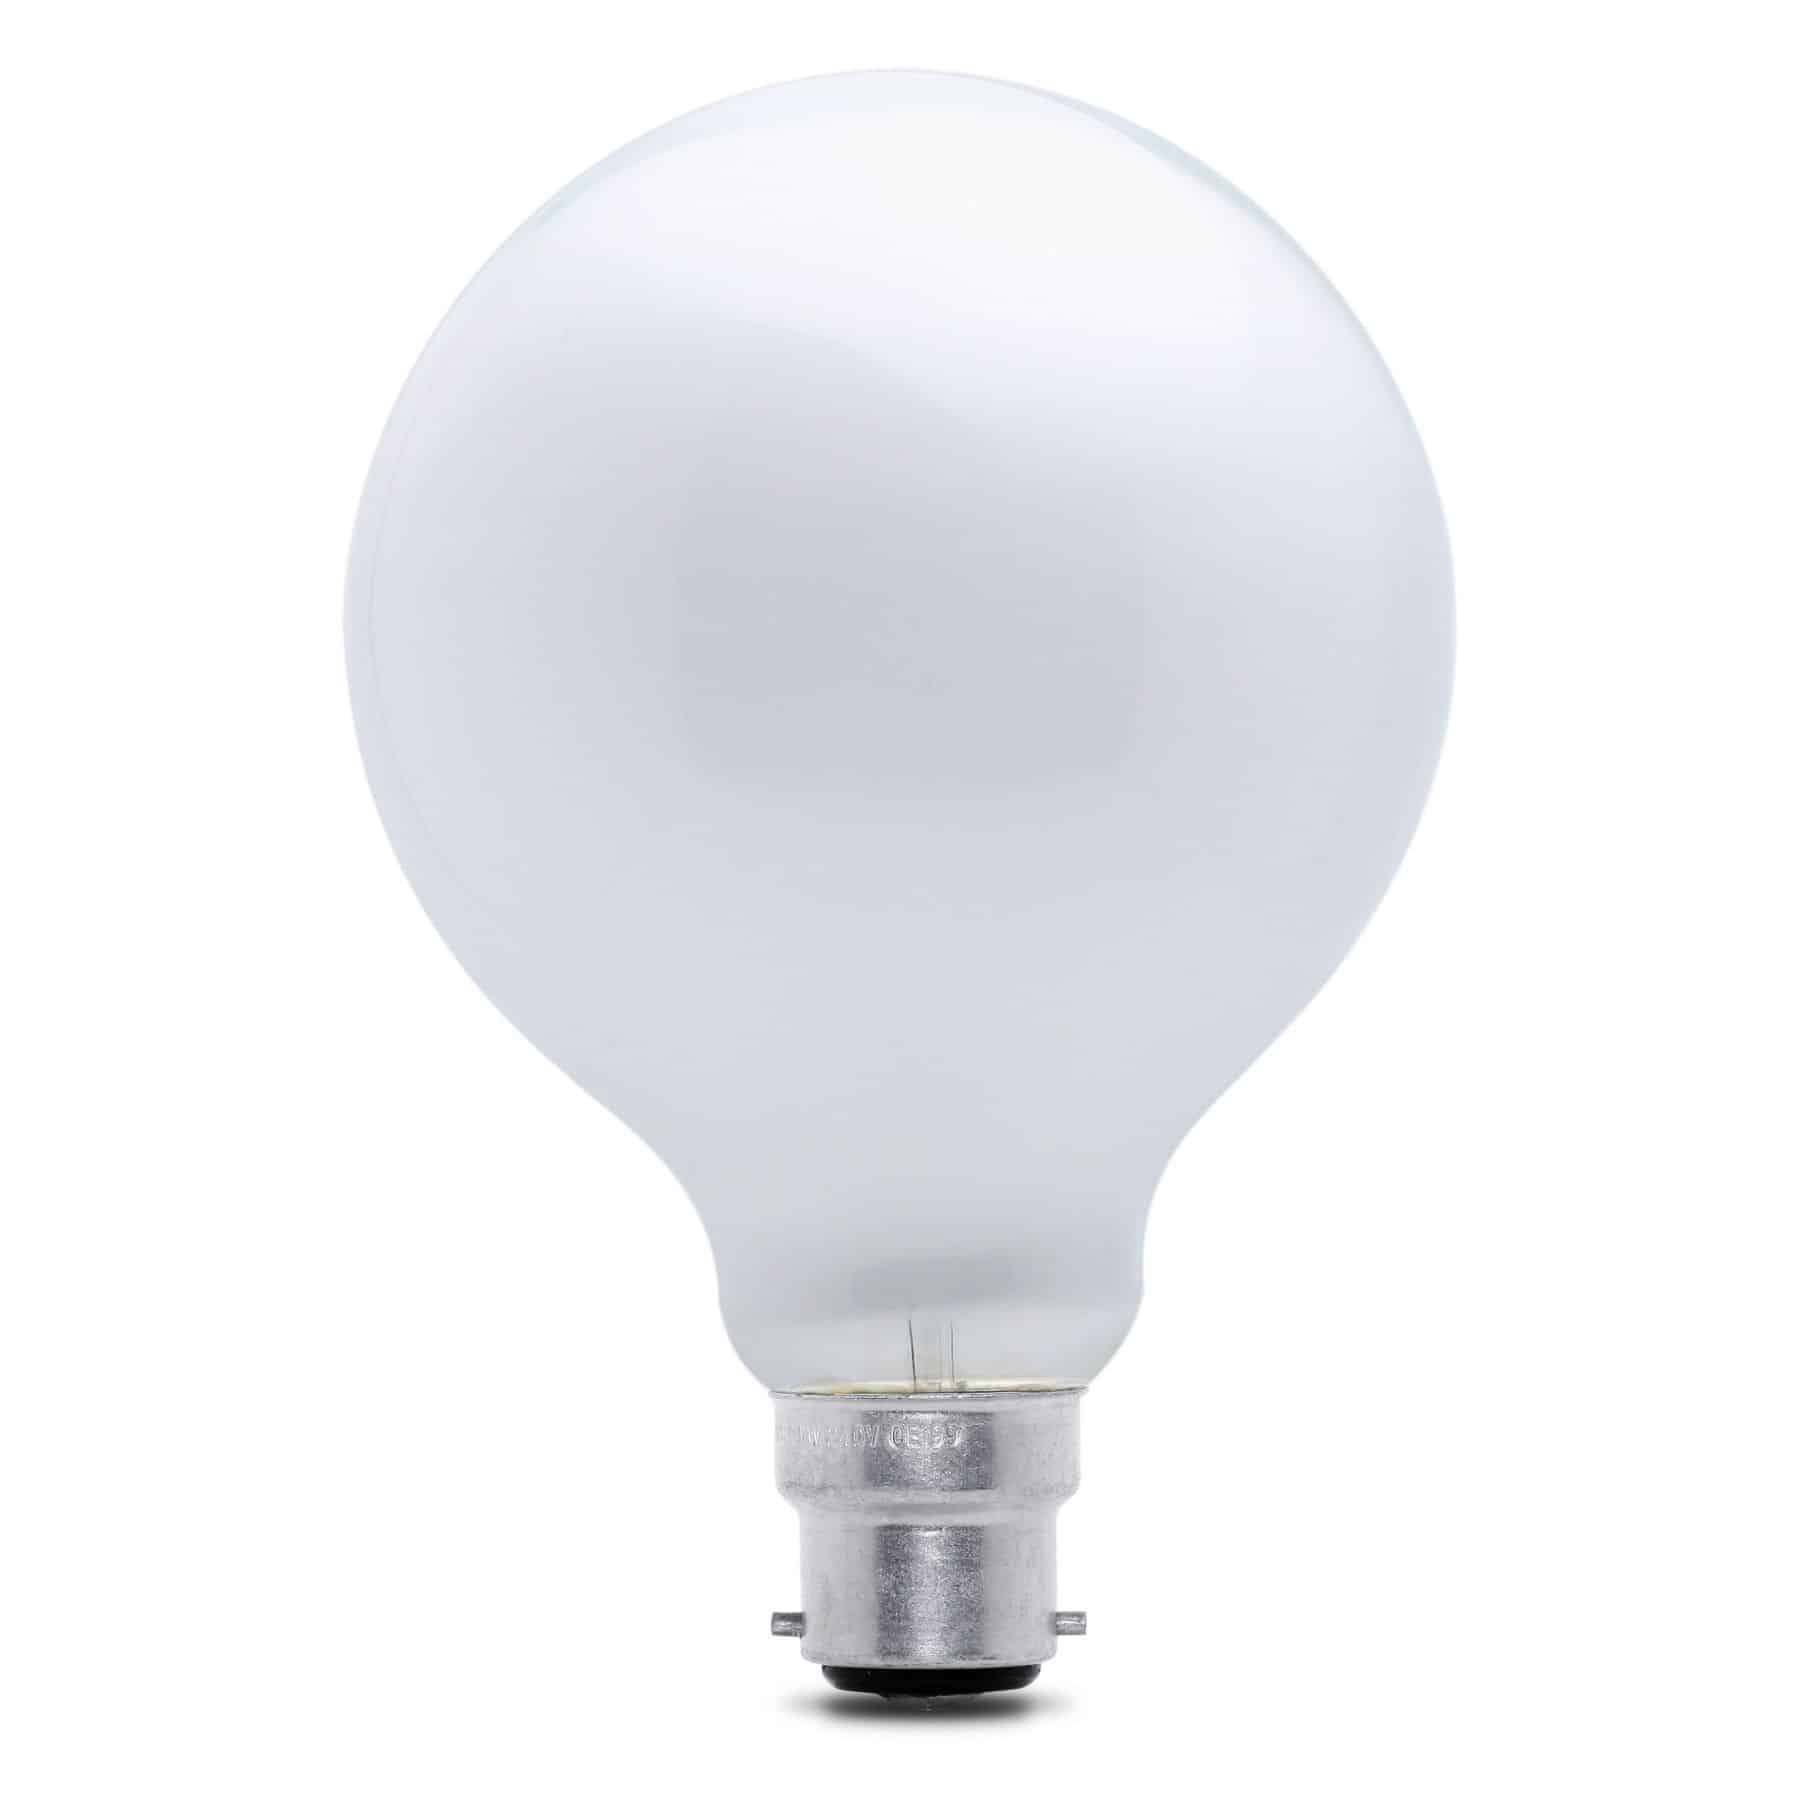 | 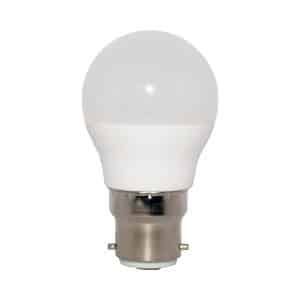 |
|
Reflector
| 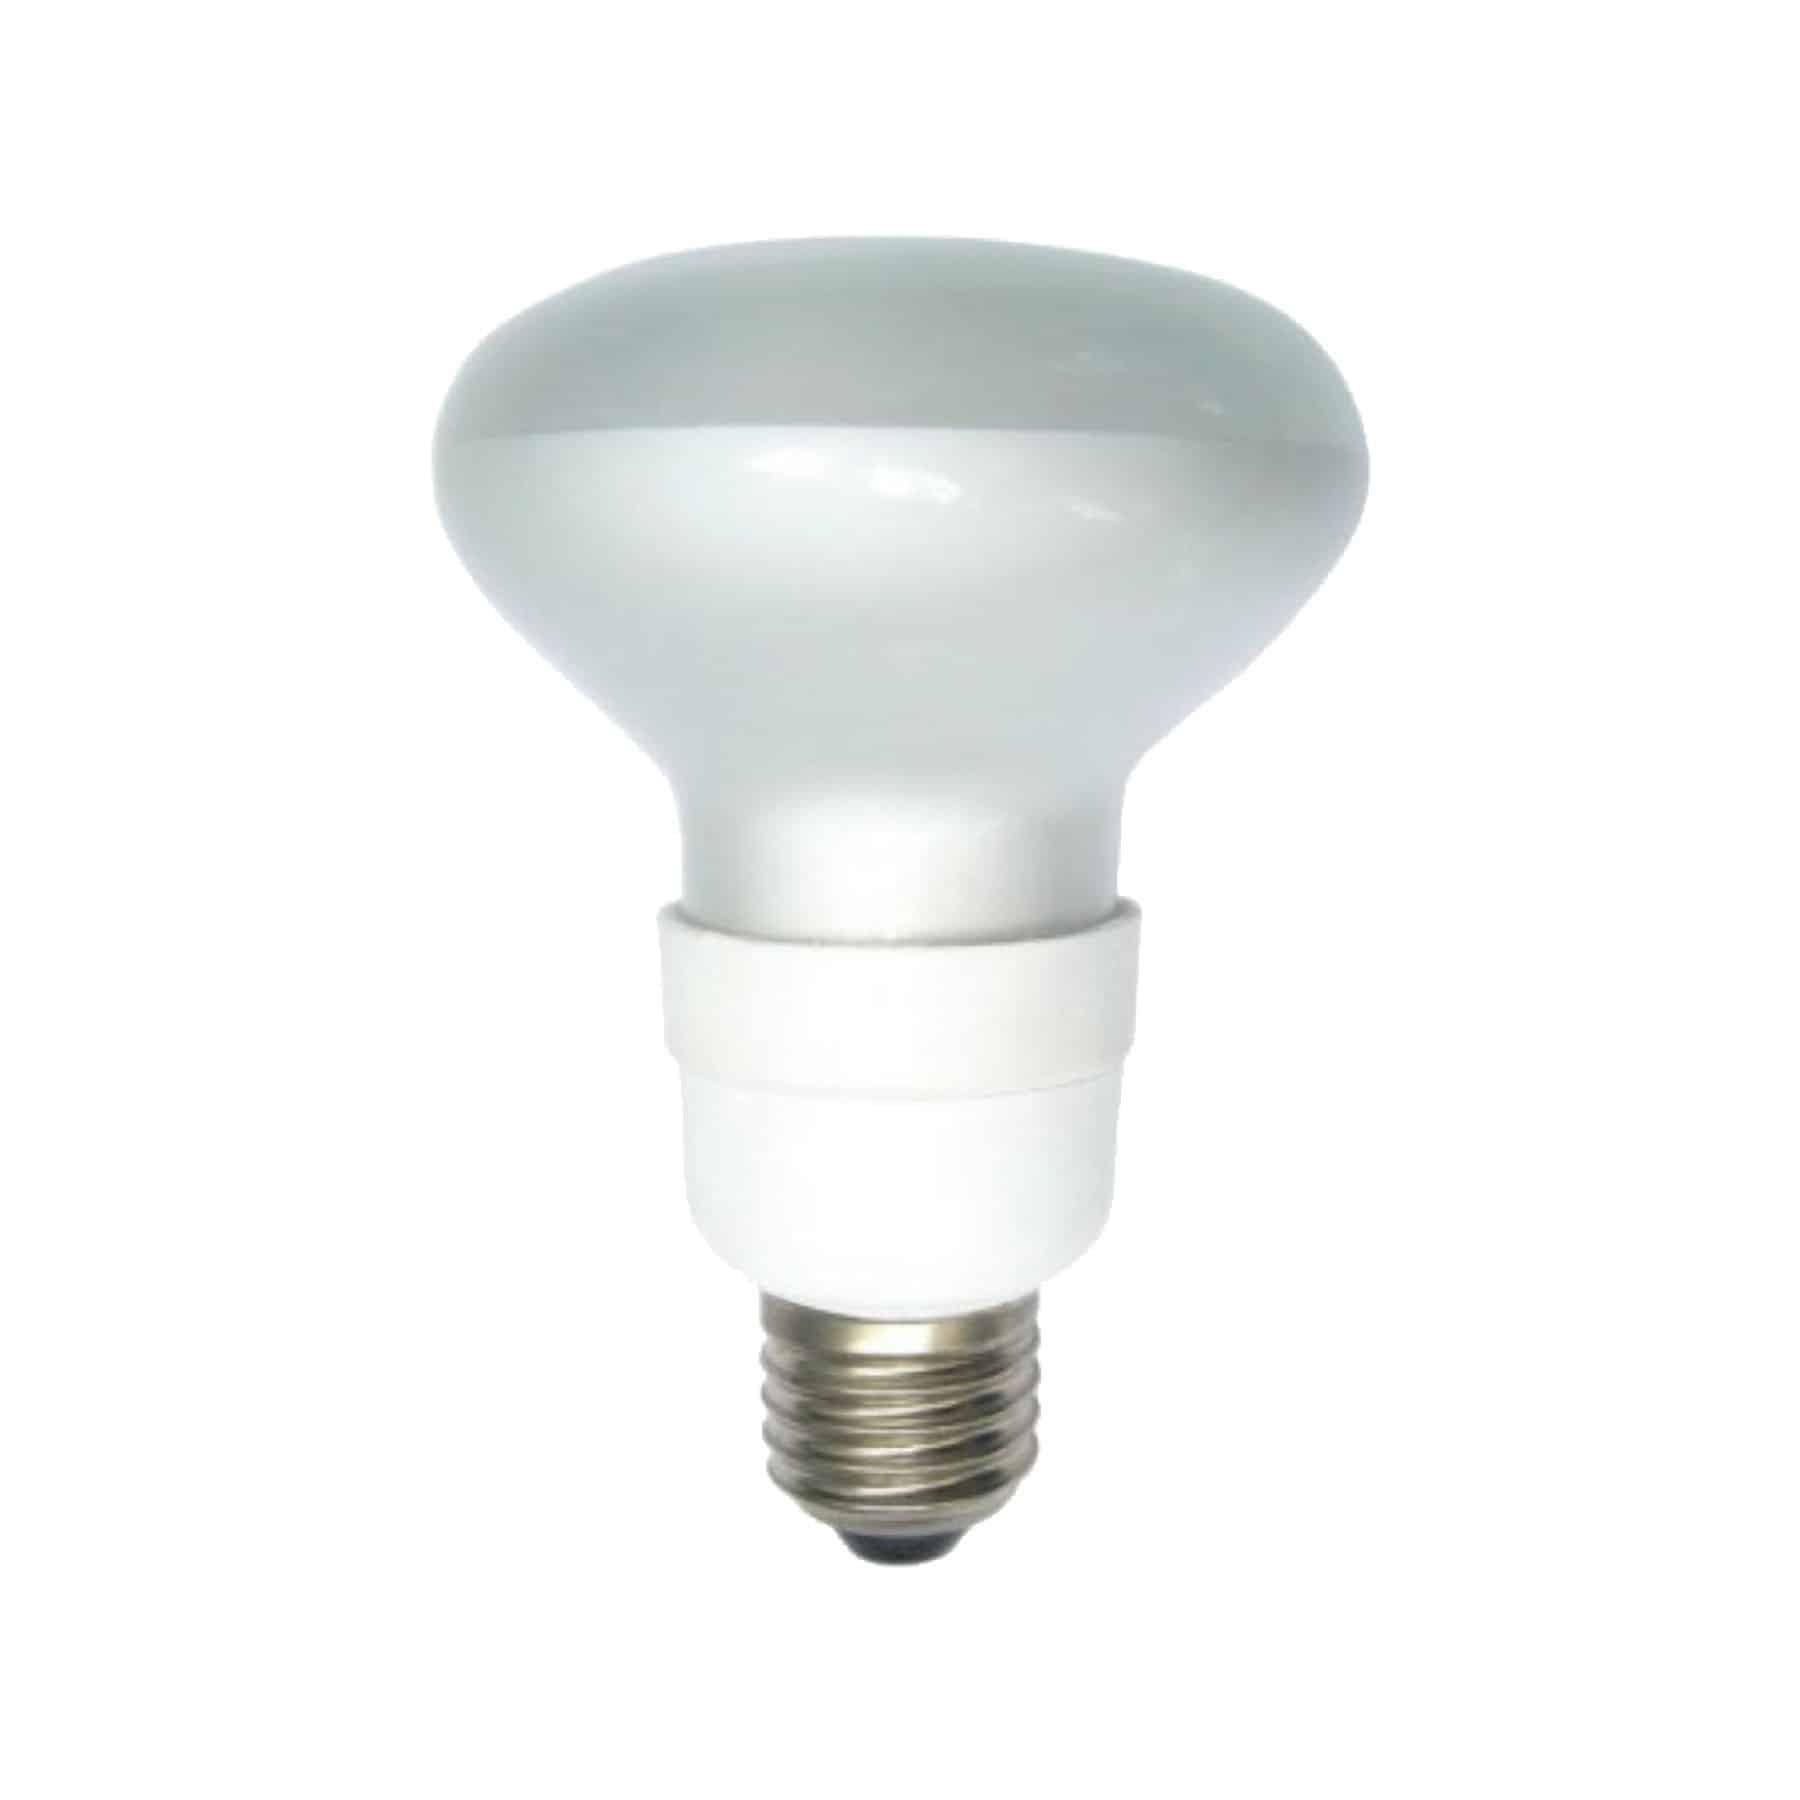 | 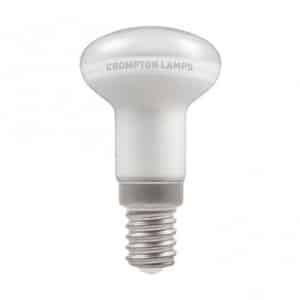 |
|
GU10
| 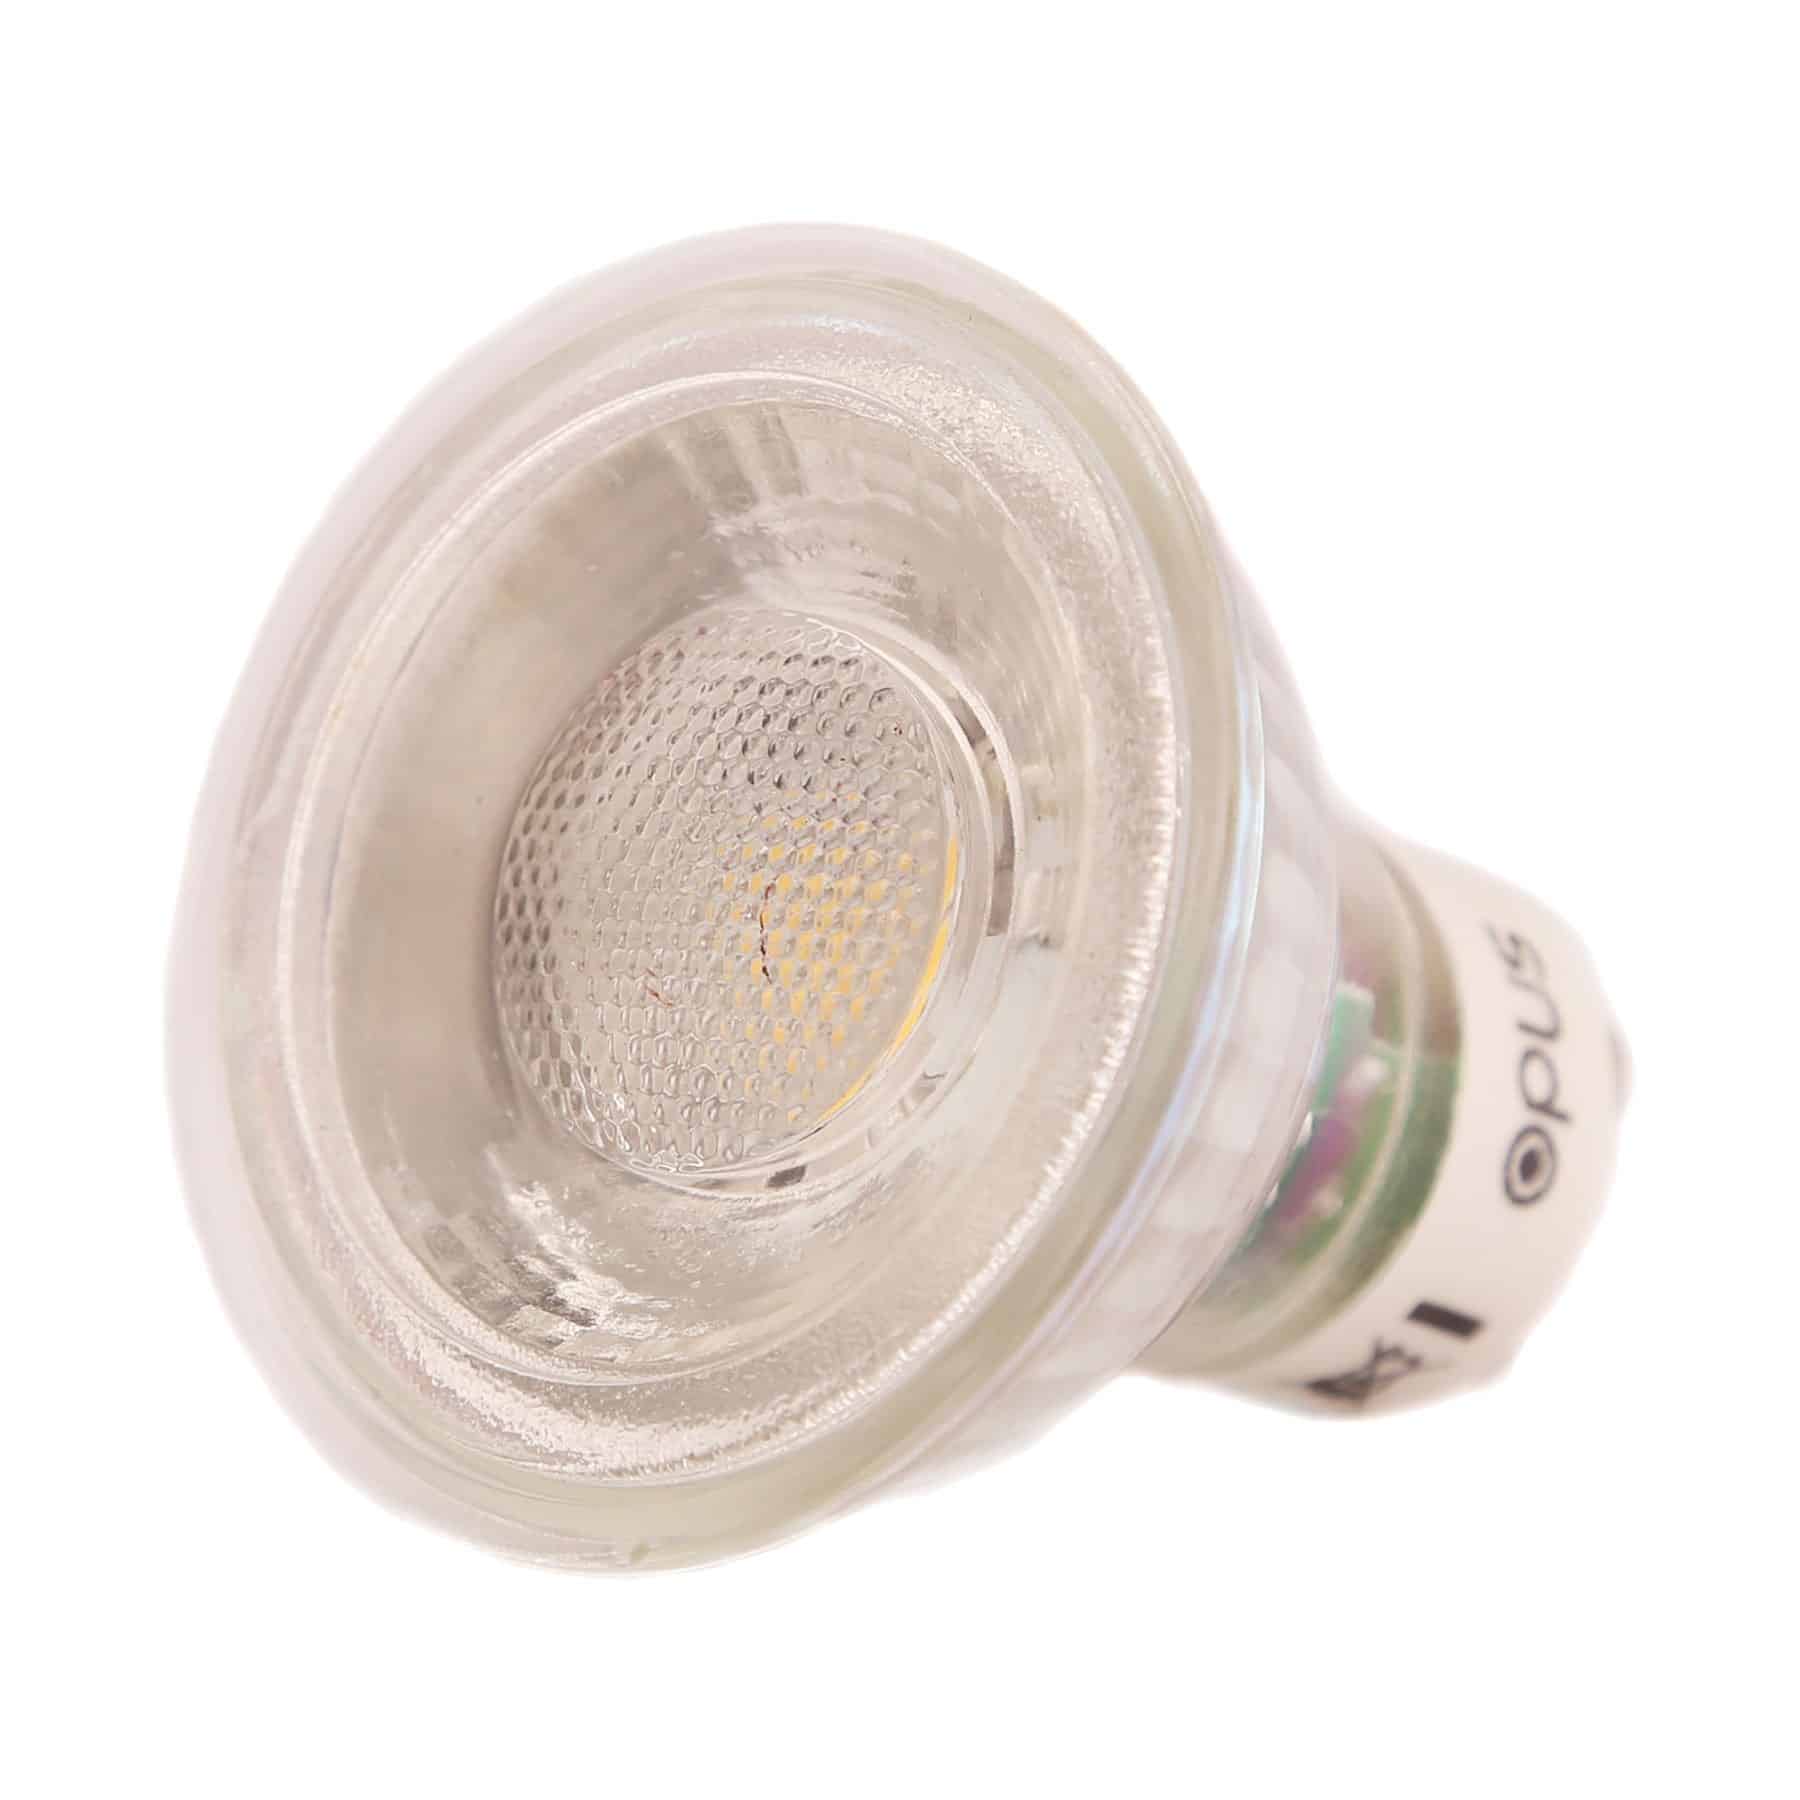 |
||
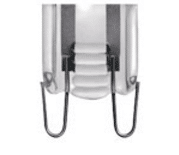
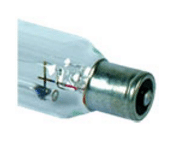
Striplight
| 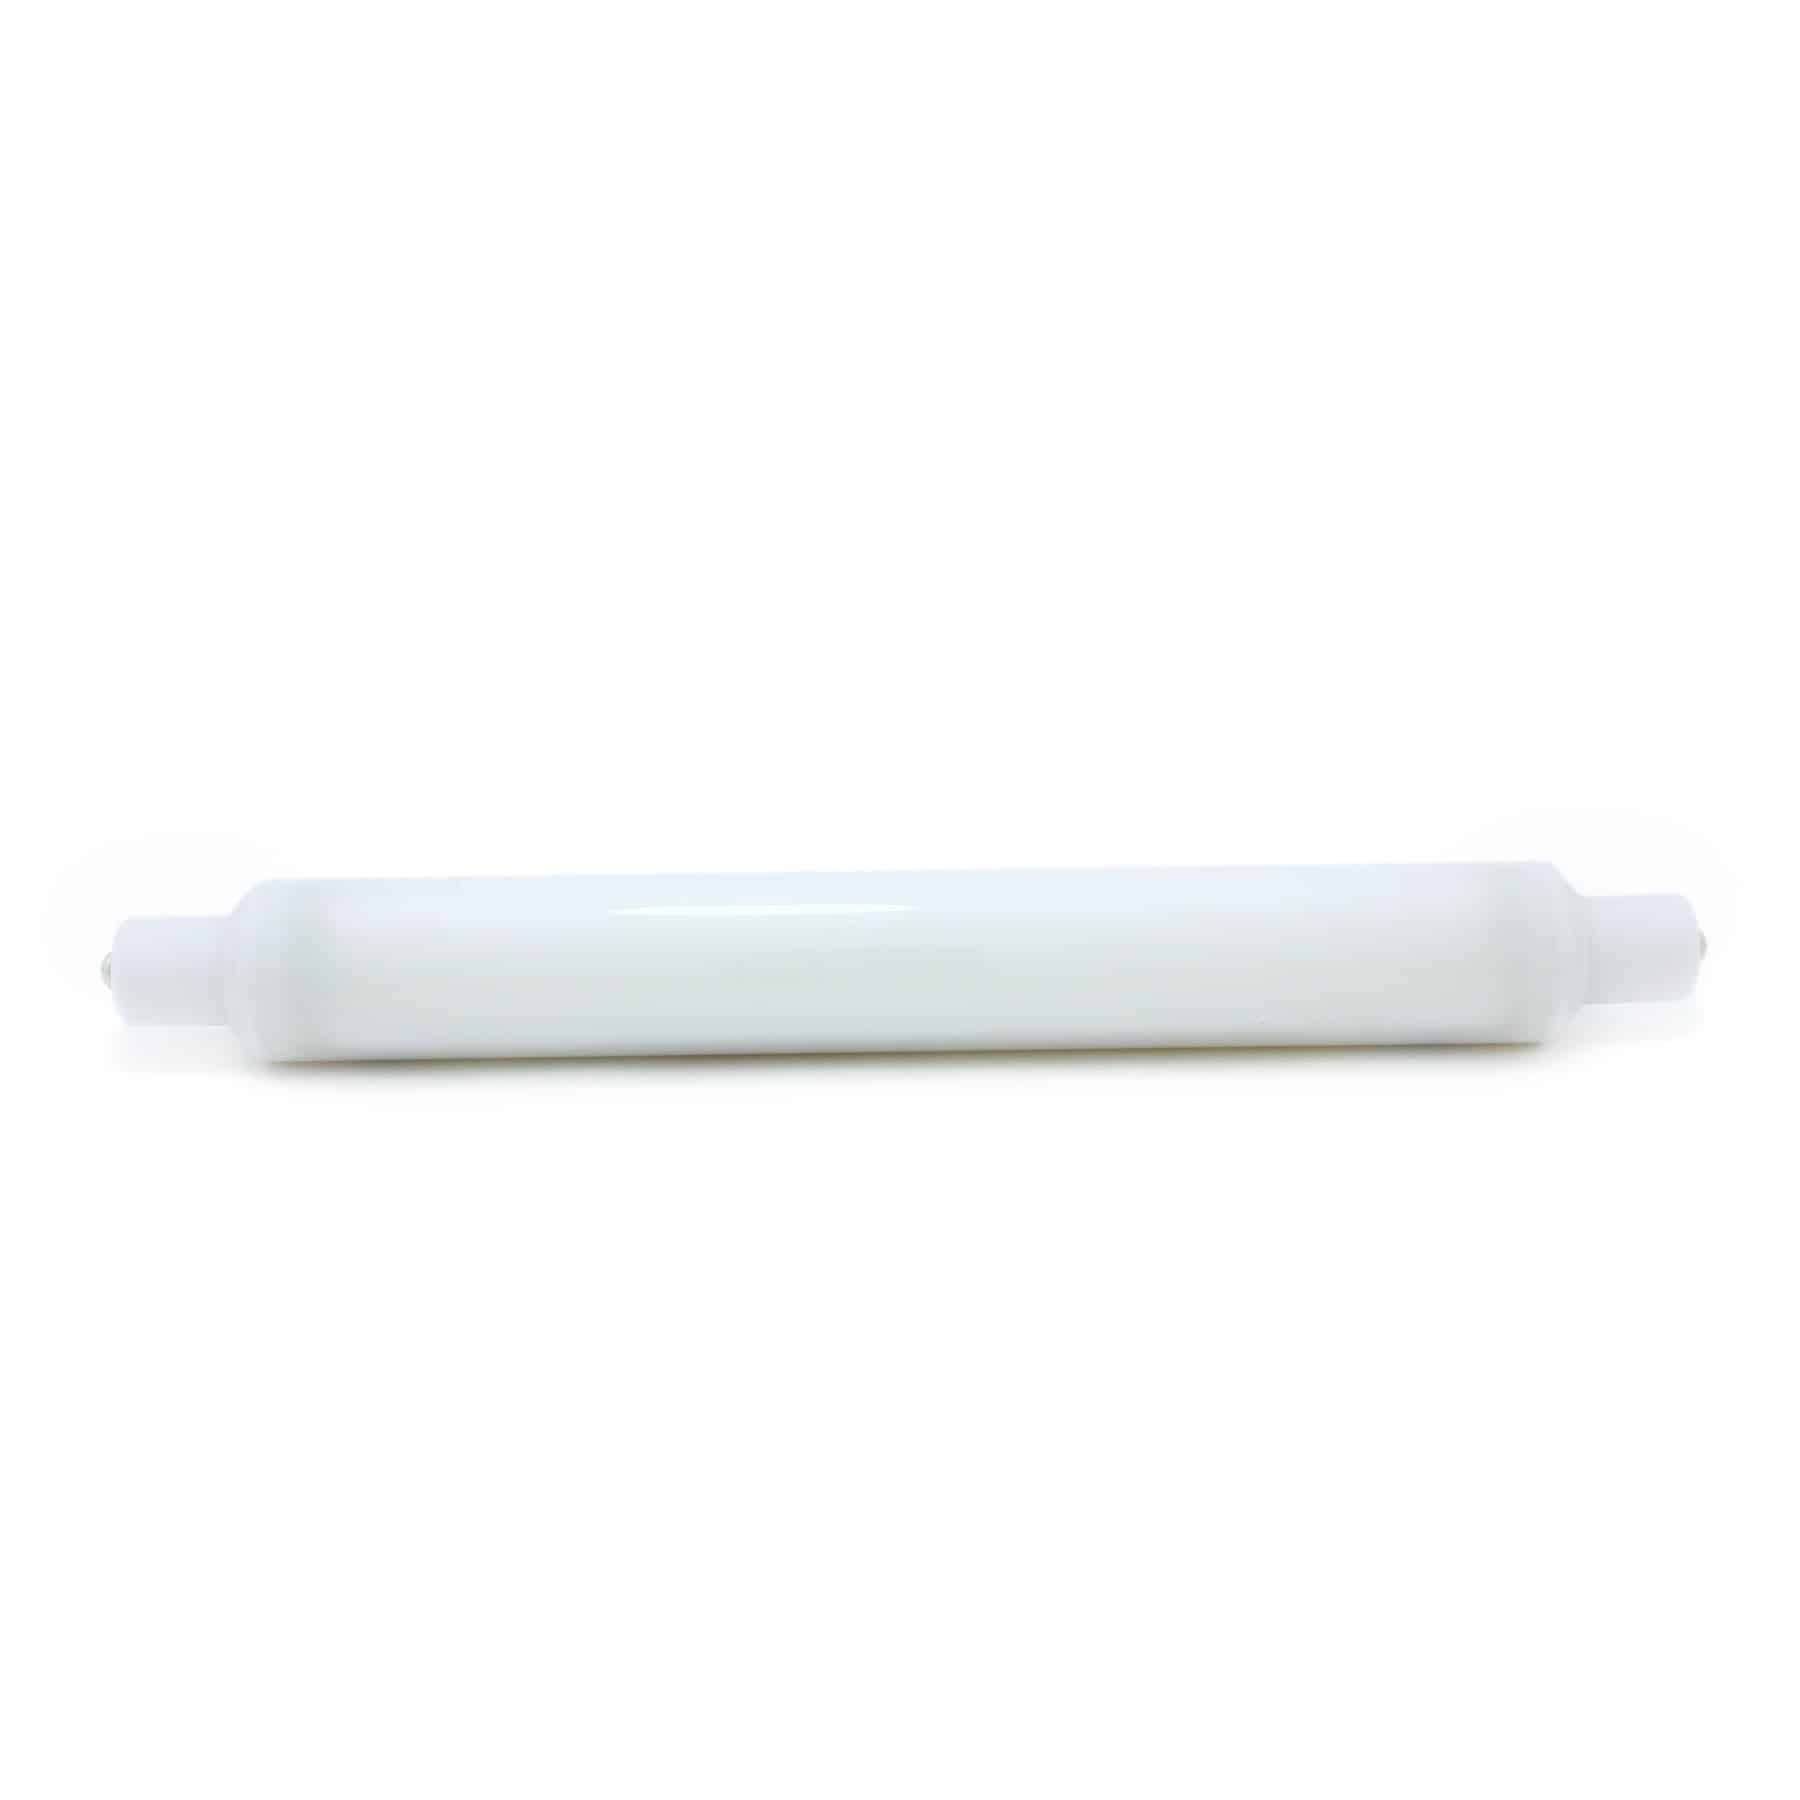 | 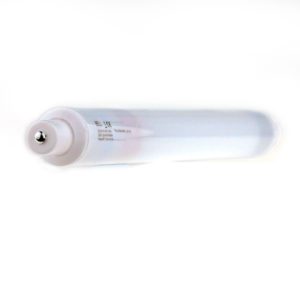 |
|
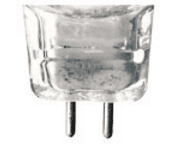
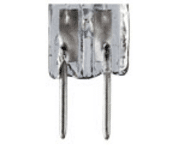
Capsule
| 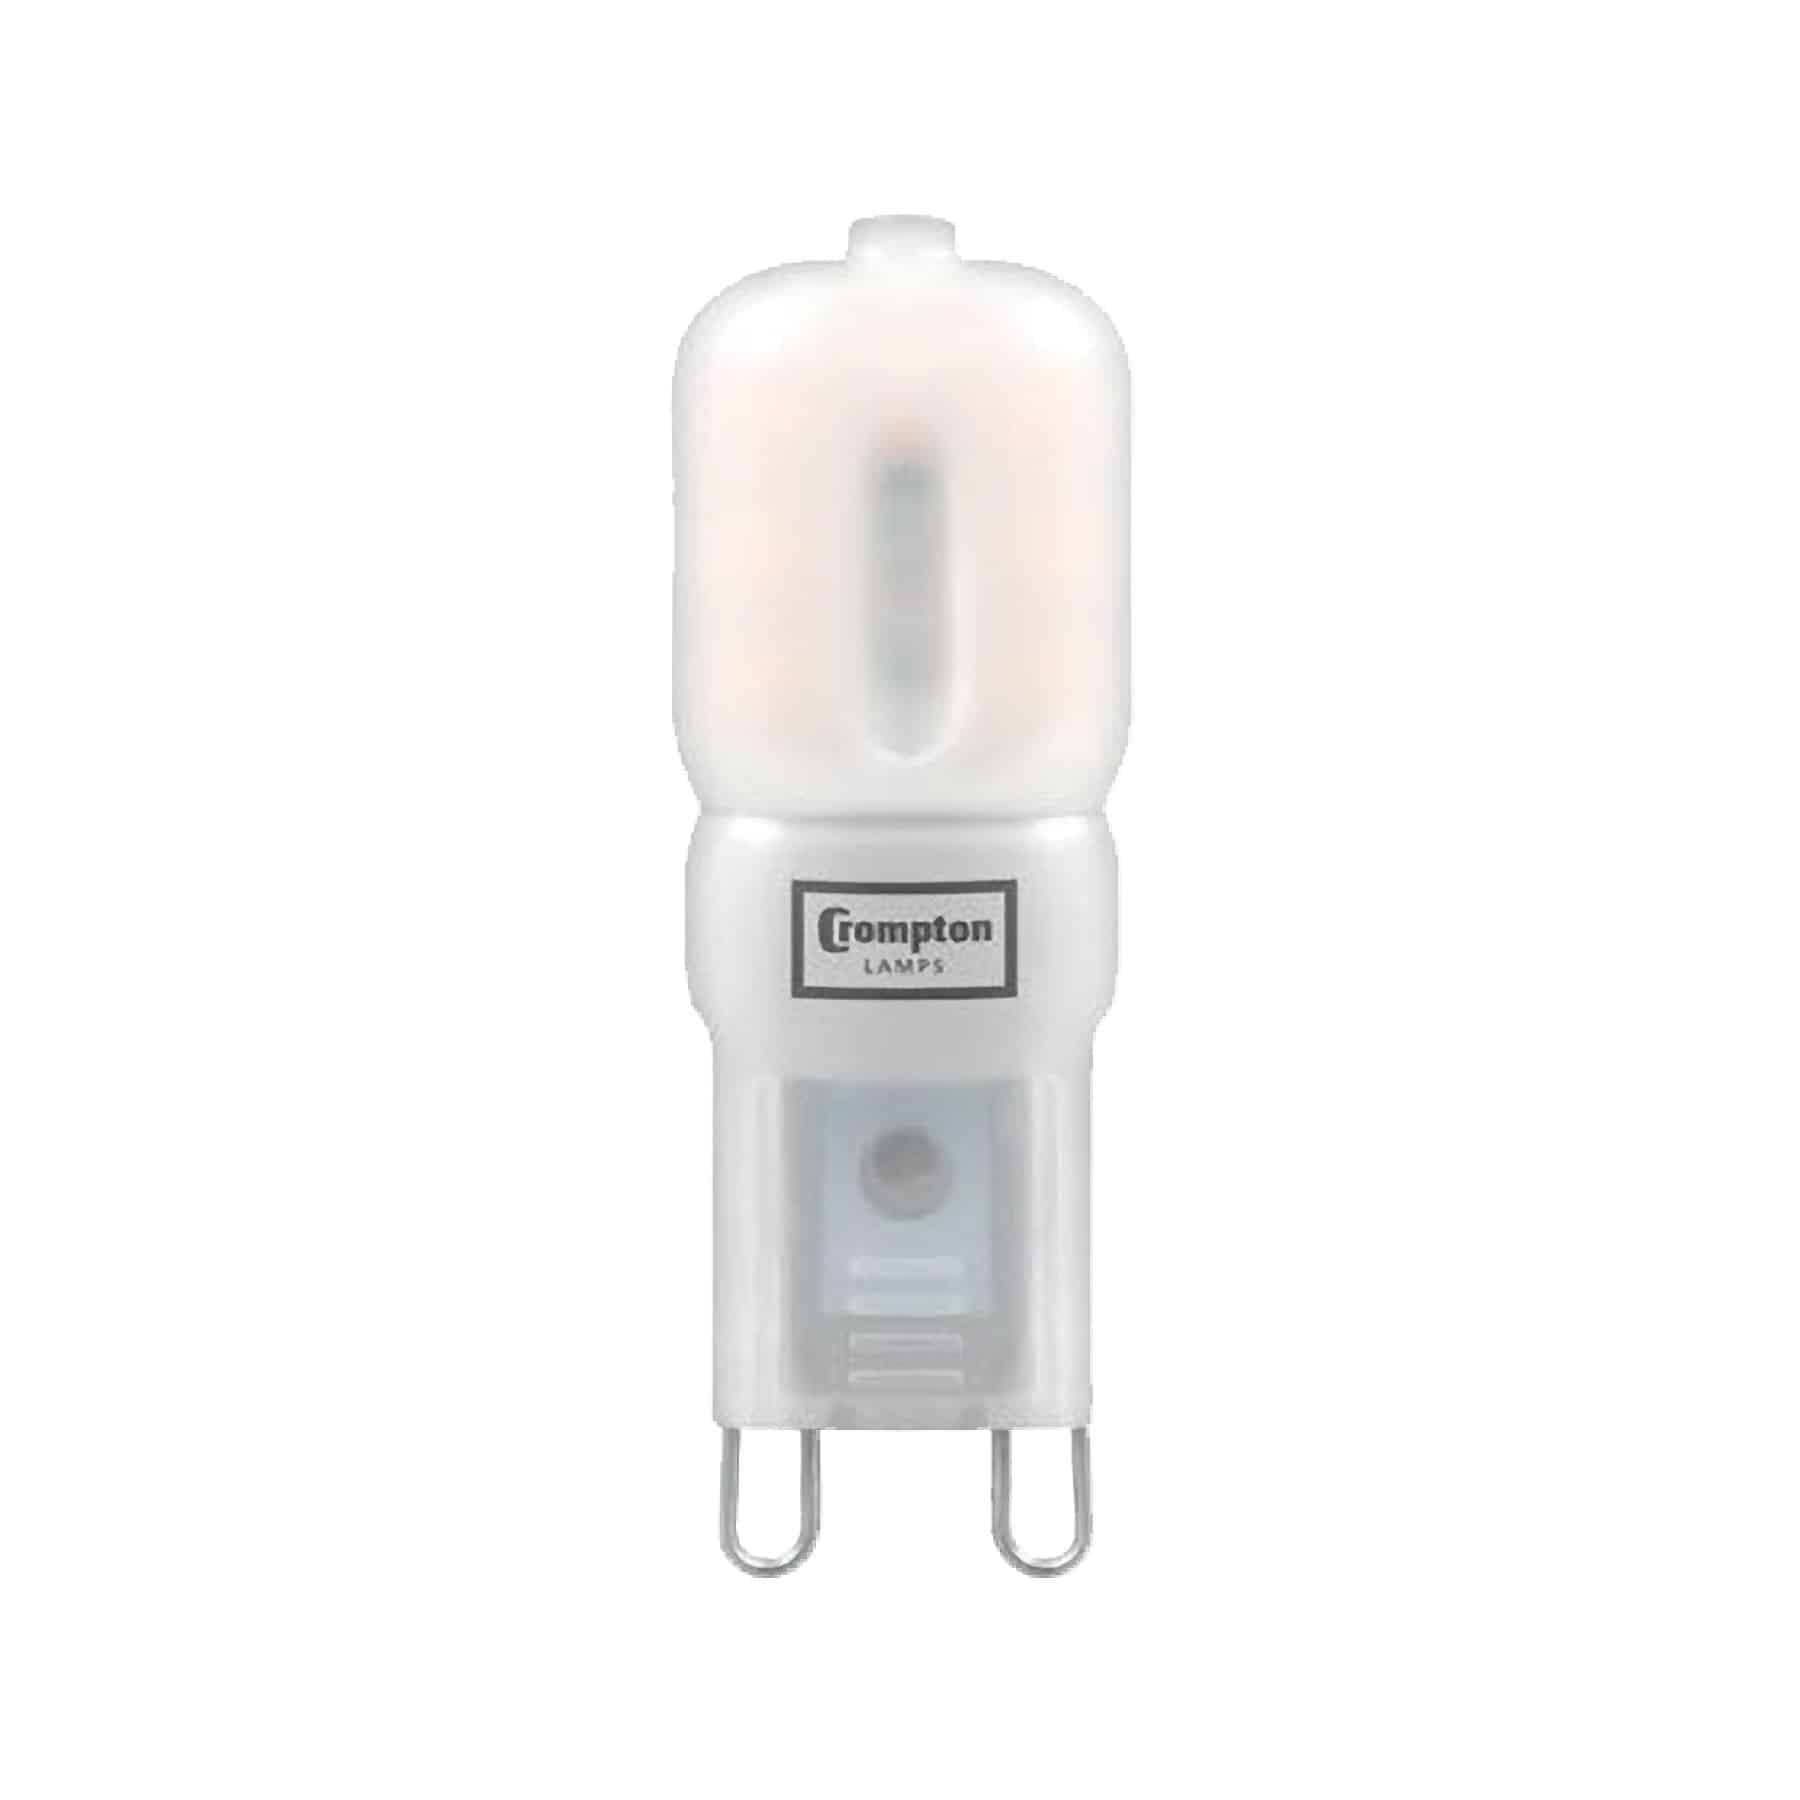 |
||
Dichroic
| 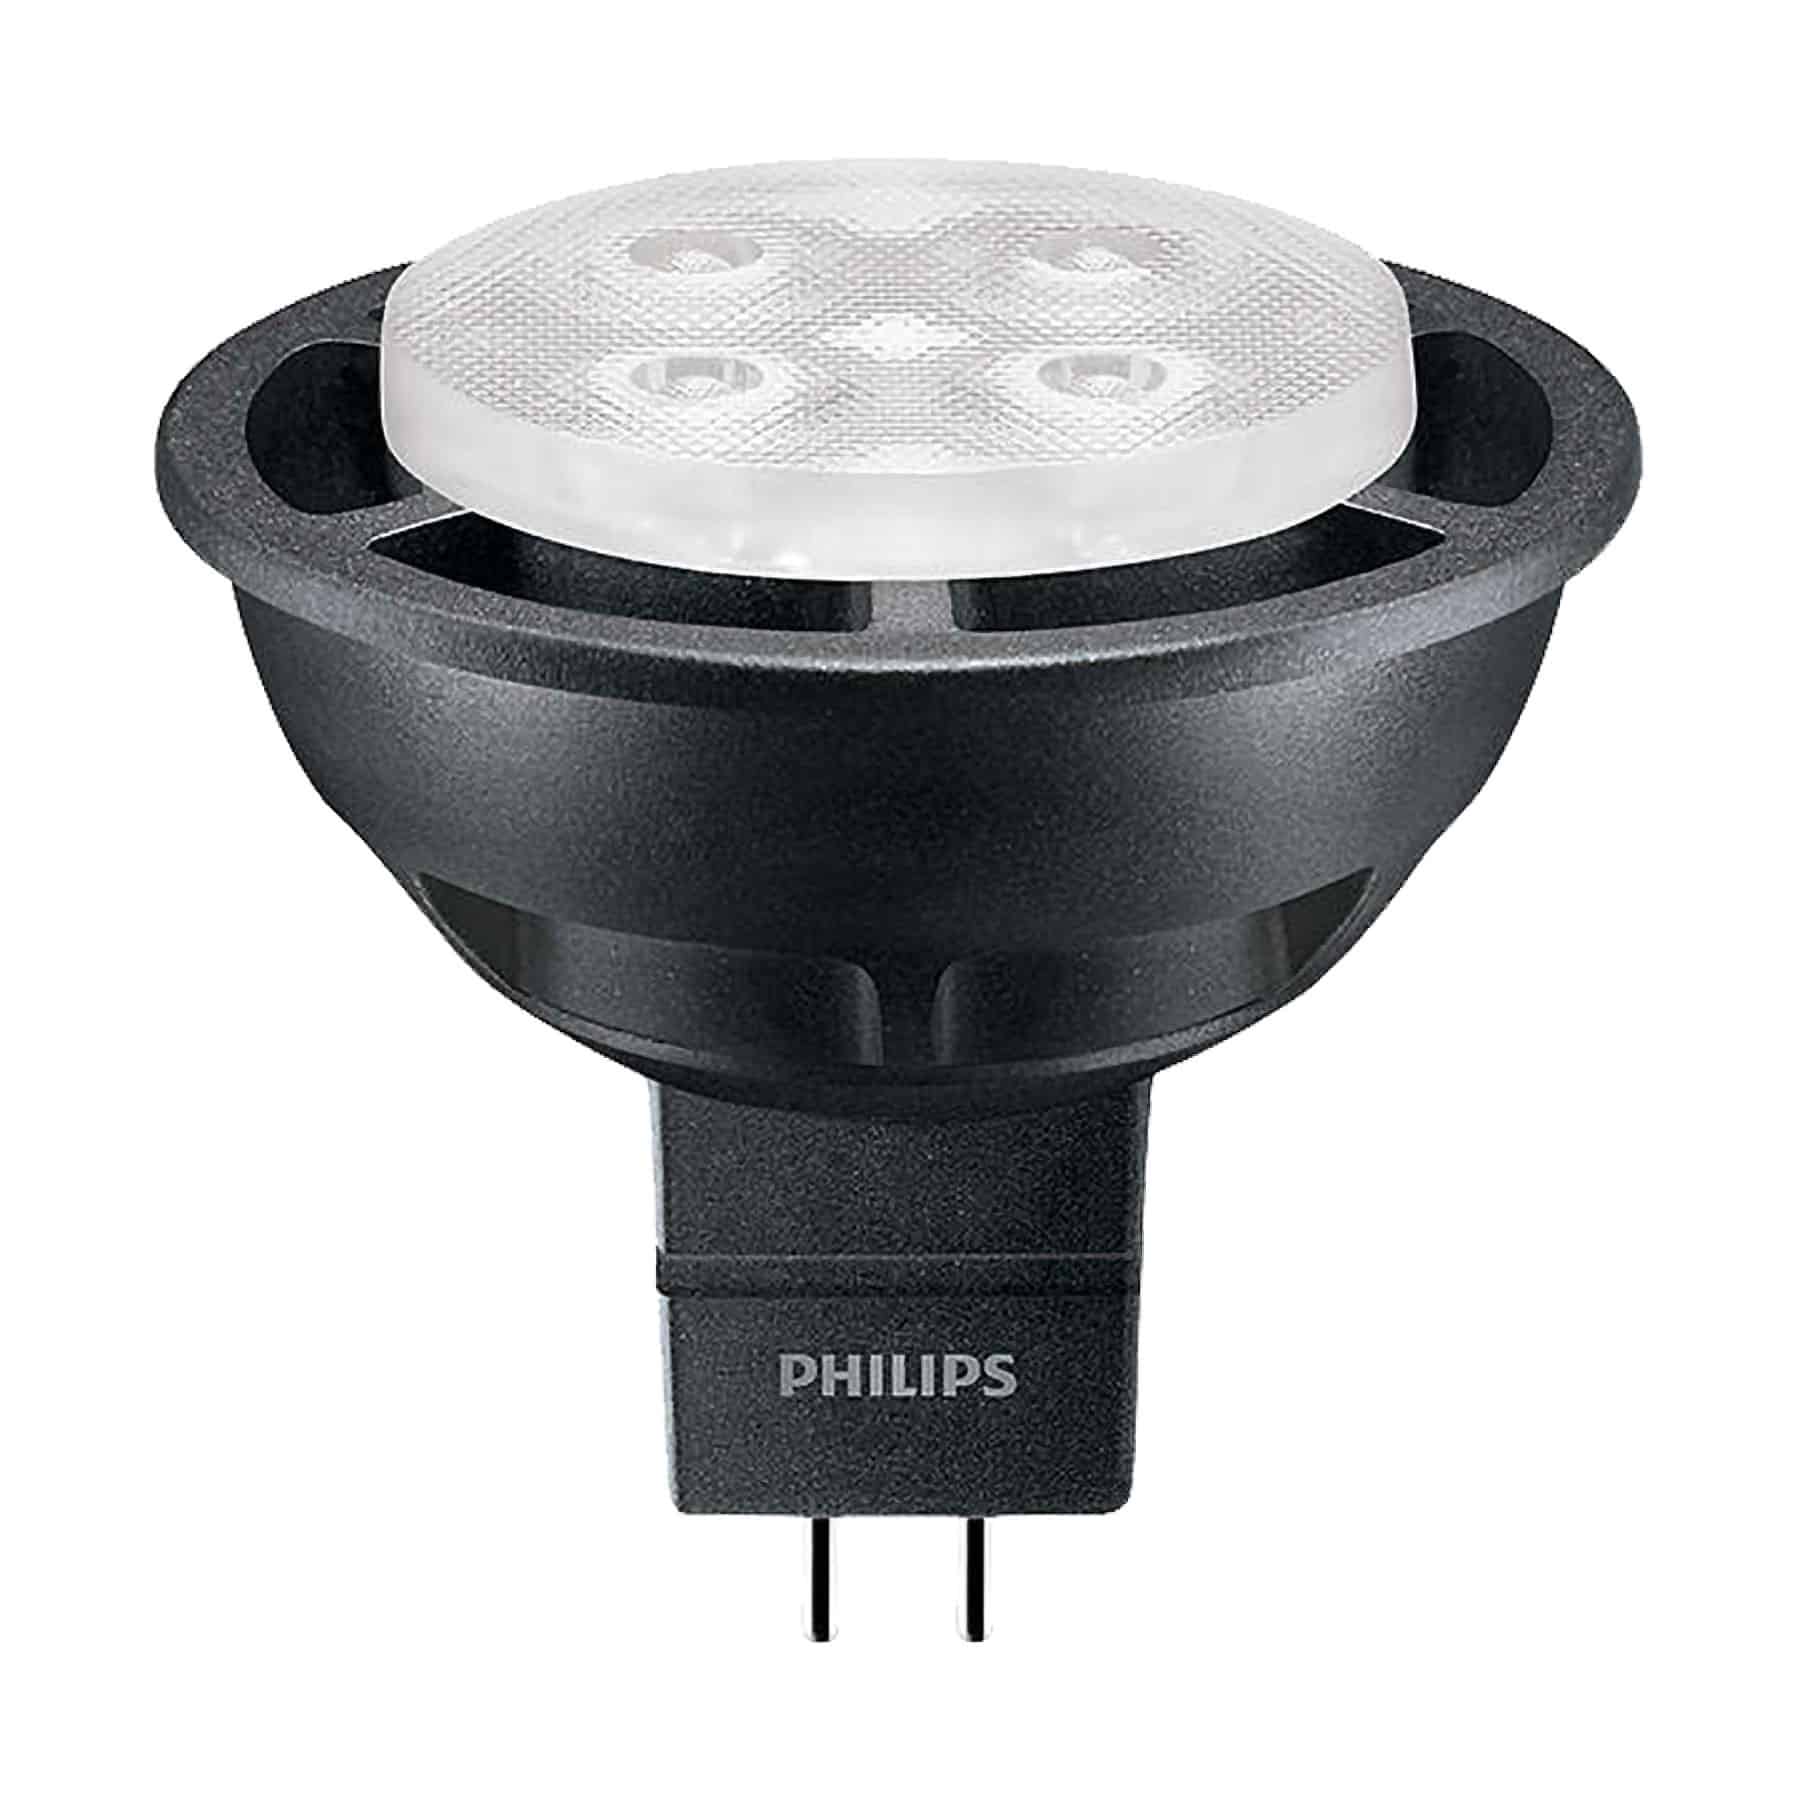 |
||
Step 2: Decide on What Type of Bulb you Want

Now that you’ve determined which base you need, you can decide on which style of LED light bulb you want. If it’s for an exposed bulb fixture or chandelier, you may want to consider something aesthetically pleasing, such as a carbon filament, candle, or other decorative bulb. For added luxury Castello Style LED filament bulbs are a high-end choice well-known for their warm, engaging glow. Otherwise, you can simply replace like-for-like.
Step 3: Select Brightness
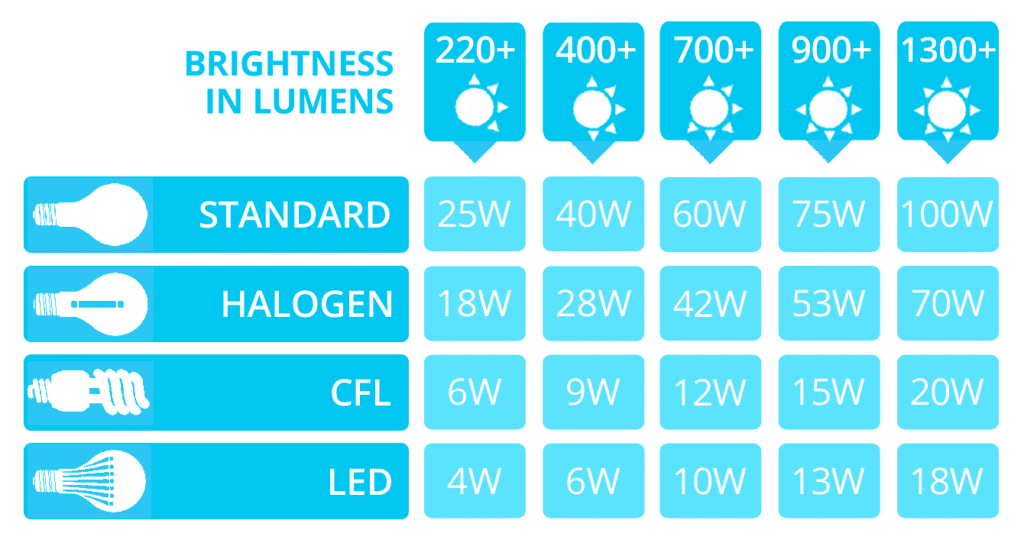
LEDs have a much lower wattage than any other bulb, so comparing them to other bulbs based on wattage isn’t very helpful. Instead, look for a bulb with a matching lumen level. This will indicate how bright the bulb will be compared to your current selection.
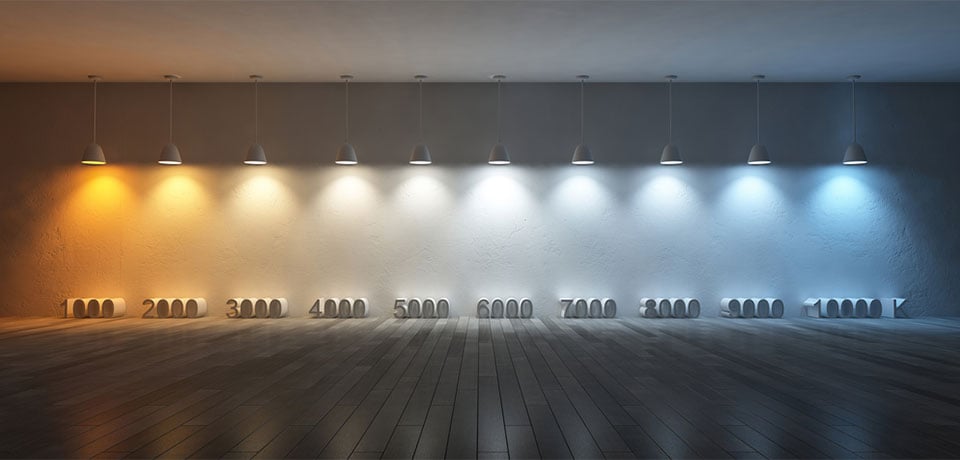
Step 4: Picking the Perfect Colour Temperature
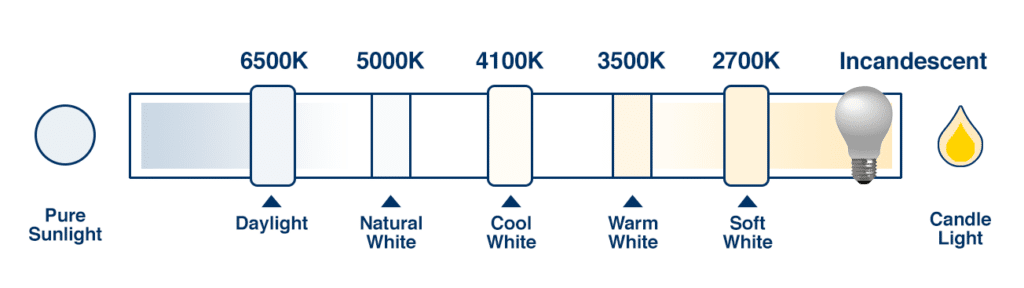
LEDs have a wider range of colour temperatures to choose from than incandescents, and are available in shades from warm white to daylight. For task lighting, you should choose a colder temperature – something around 5600k is usually best. To replicate the glow of an incandescent bulb, you’ll want to select a warm or very warm white LED bulb, around the 2700k mark.
Step 5: Installation
LEDs require no special consideration when it comes to installation – they should fit perfectly inside your current fixtures and install the same way that an incandescent or CFL bulb would.
In some instances, you might need to upgrade to an LED suitable dimmer because dimmers built for older bulbs can cause LEDs to generate a high-pitched noise or dim incorrectly. However, LEDs labelled as dimmable will usually work in your current setup without any problems. You can sidestep this issue entirely by selecting 3 step dimming LED bulbs, which decrease light from 100% to 50% to 15% before turning off and don’t require a special dimming switch.
Start by replacing the light bulbs you use most often. You’ll see more significant savings and you can gradually replace as the other bulbs as they burn out, spreading out the initial expense. Check out our guide to phasing out traditional light bulbs for more information.Read More
Find answers to all your questions about LEDs in the rest of our Ultimate Guide to LED Lights:
Part 1: What is an LED and How Do LEDs Work?
Part 2: Advantages of LEDs
Part 3: LEDs vs. Traditional Incandescent Lights
Part 4: Switching to LEDs in 5 Steps (you’re here!)
Part 5: How to Buy LEDs
Part 6: History of LEDs
Part 7: Advanced Features